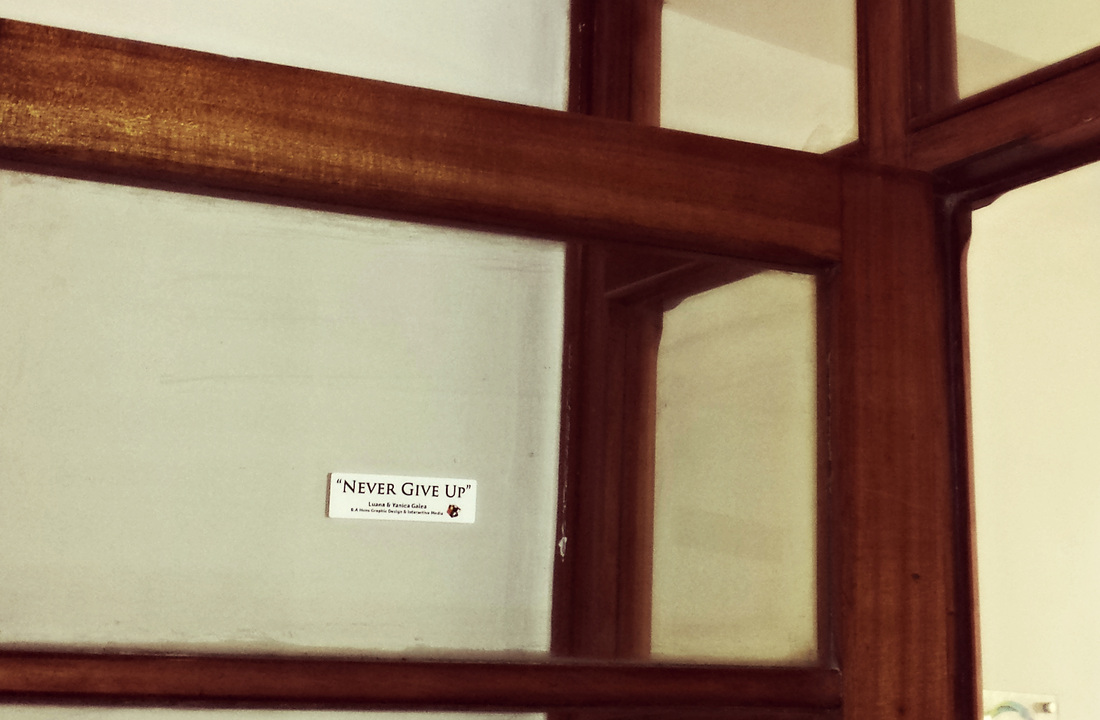
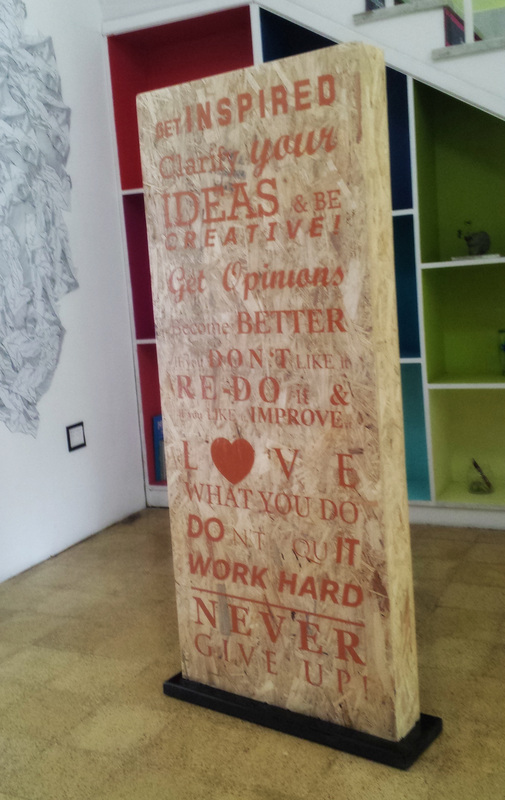
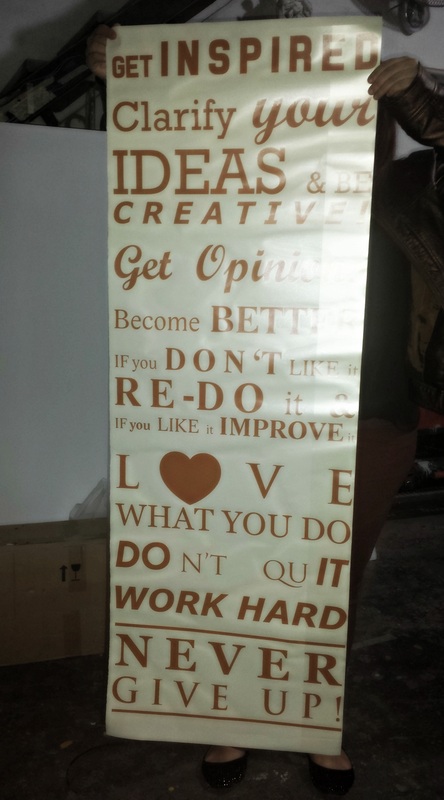
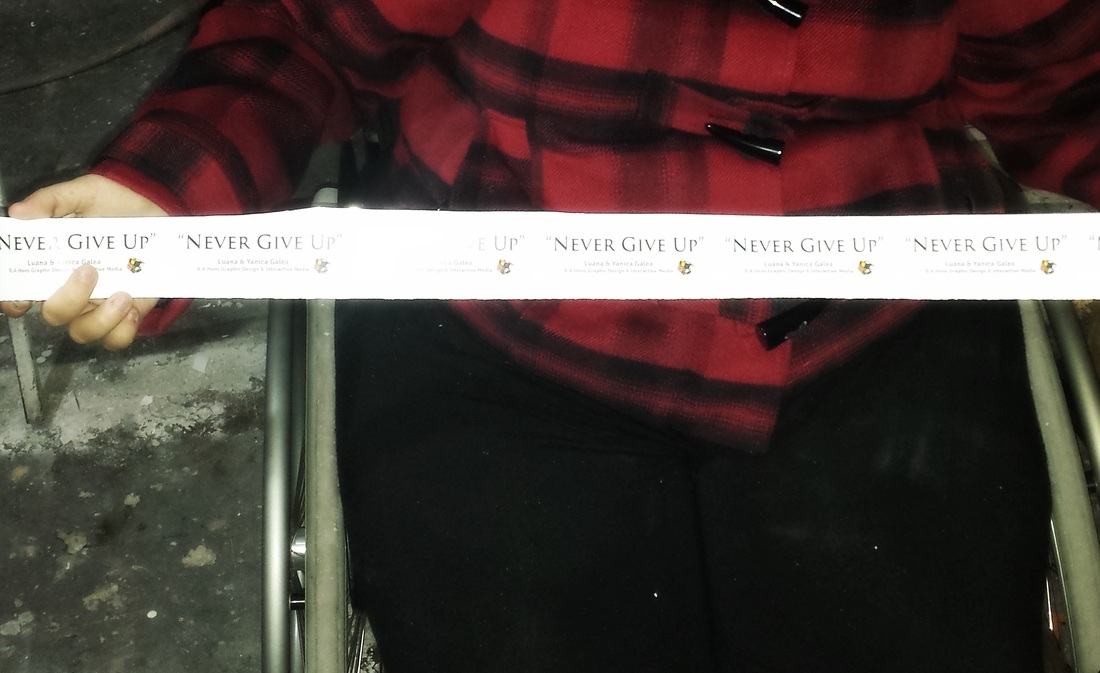
"N E V E R G I V E U P !"
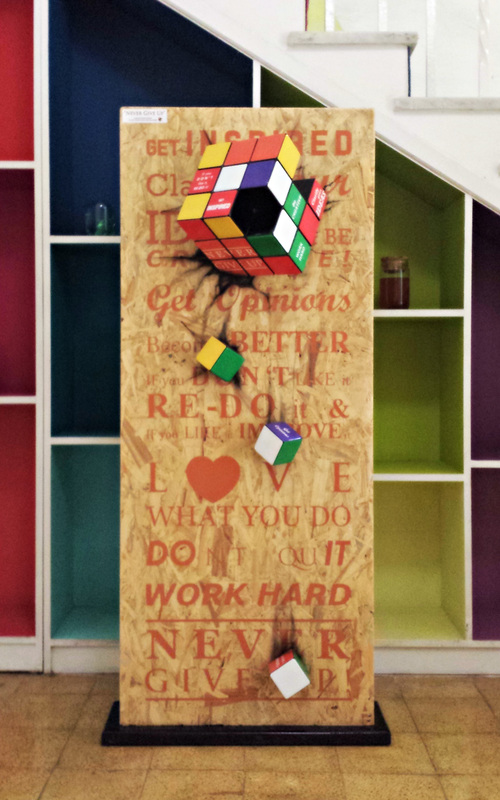
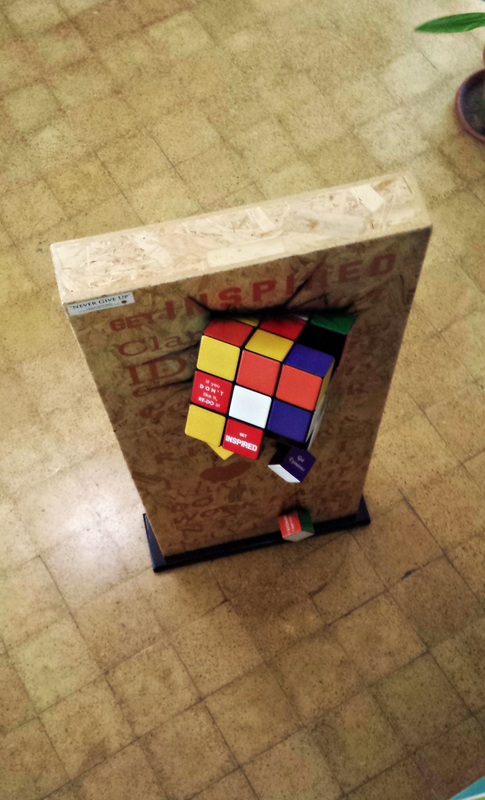
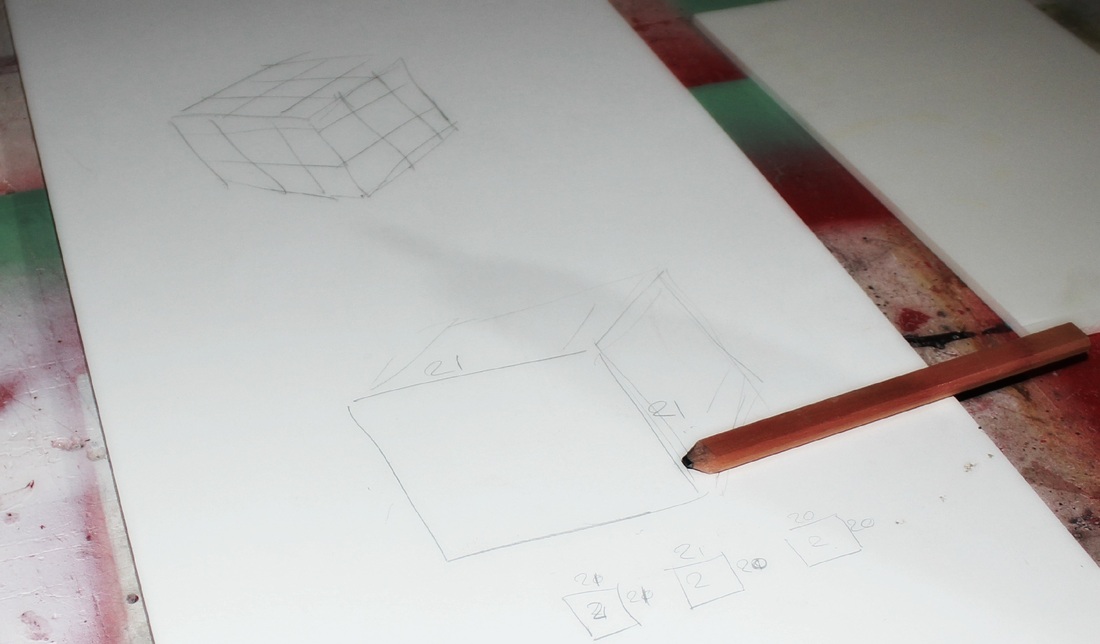
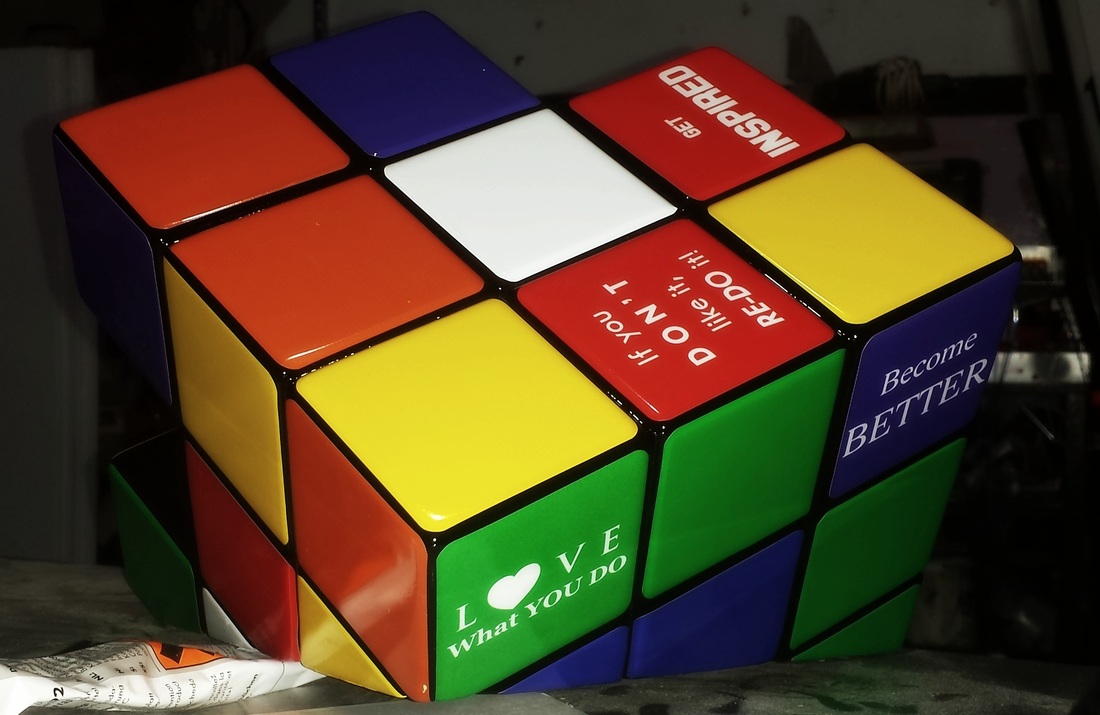
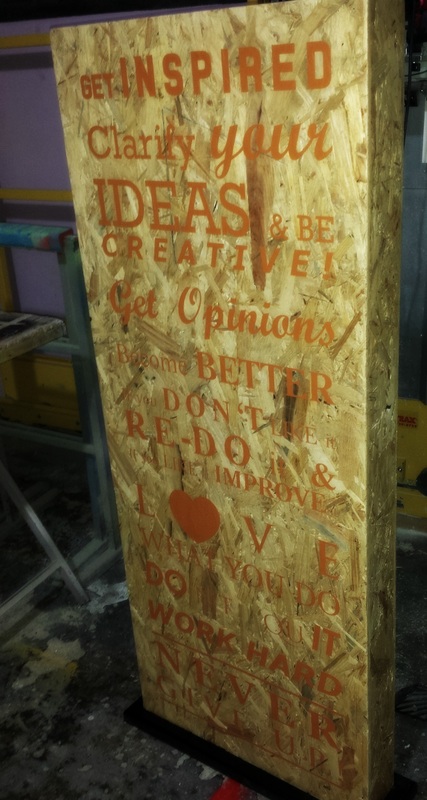
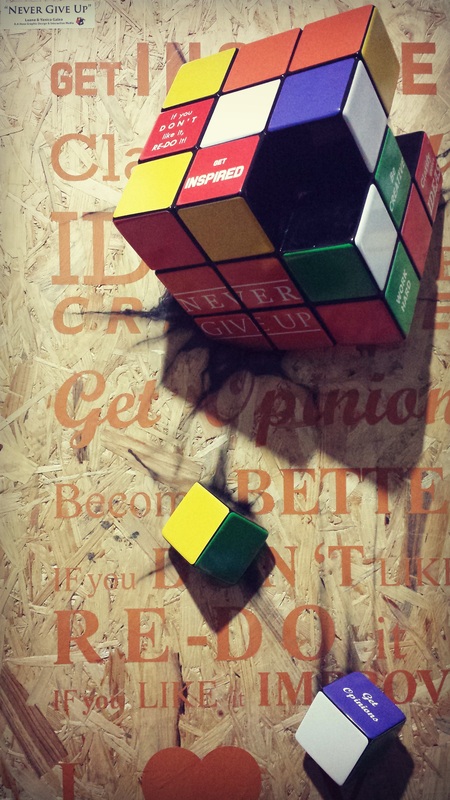
We compared design to a rubik cube, where one has a lot of small cubes to form one bigger cube. Our manifesto is going to consist of a rubik cube which is not ready yet stuck in the wall with some of its small cubes falling down after being thrown to the wall because one couldn’t finish it correctly. The idea behind this manifesto is that to create a good design, you have to be creative, work hard and never giving up on your design in order for receiving a positive result.
Creating The Manifesto
Sketching Our Idea
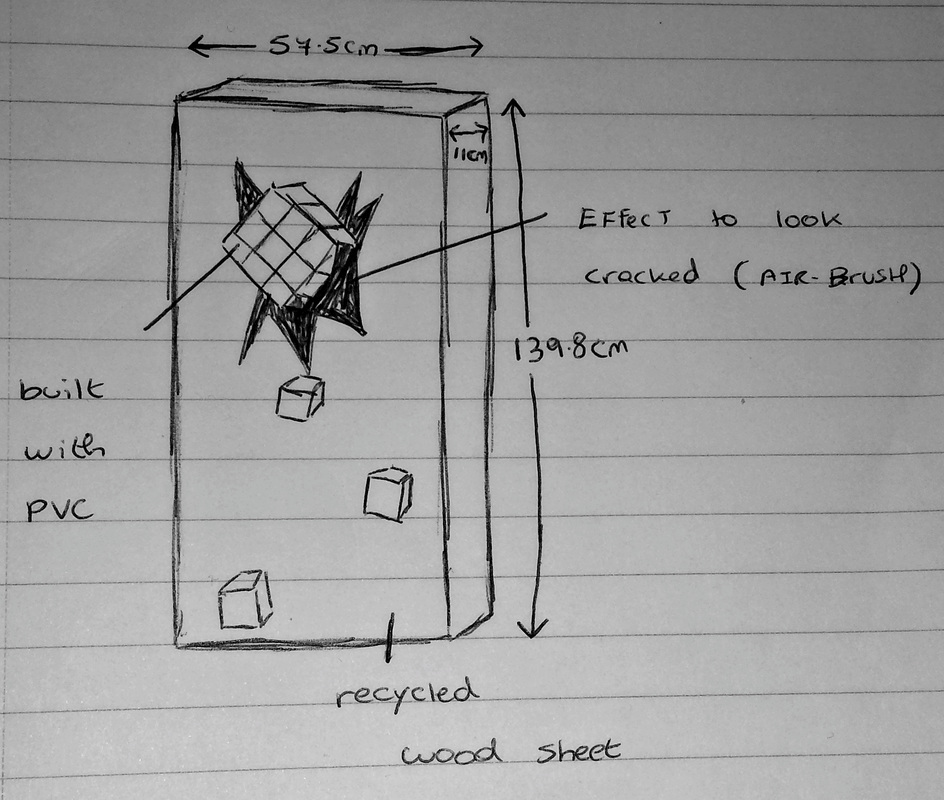
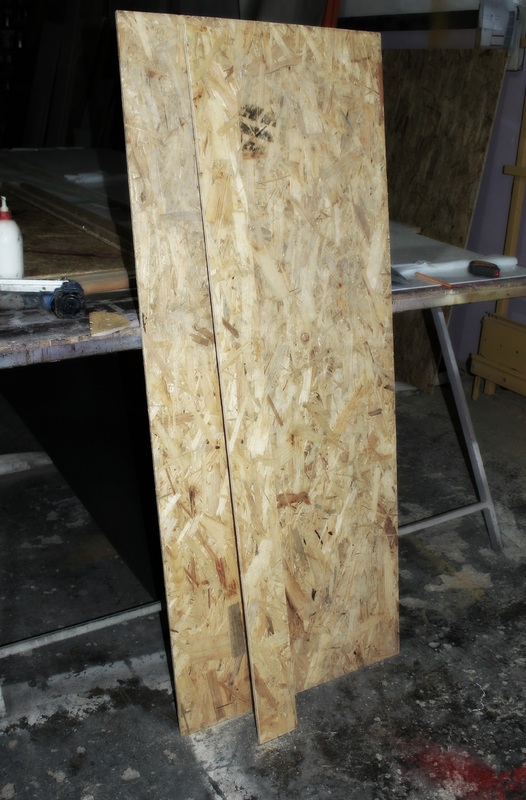
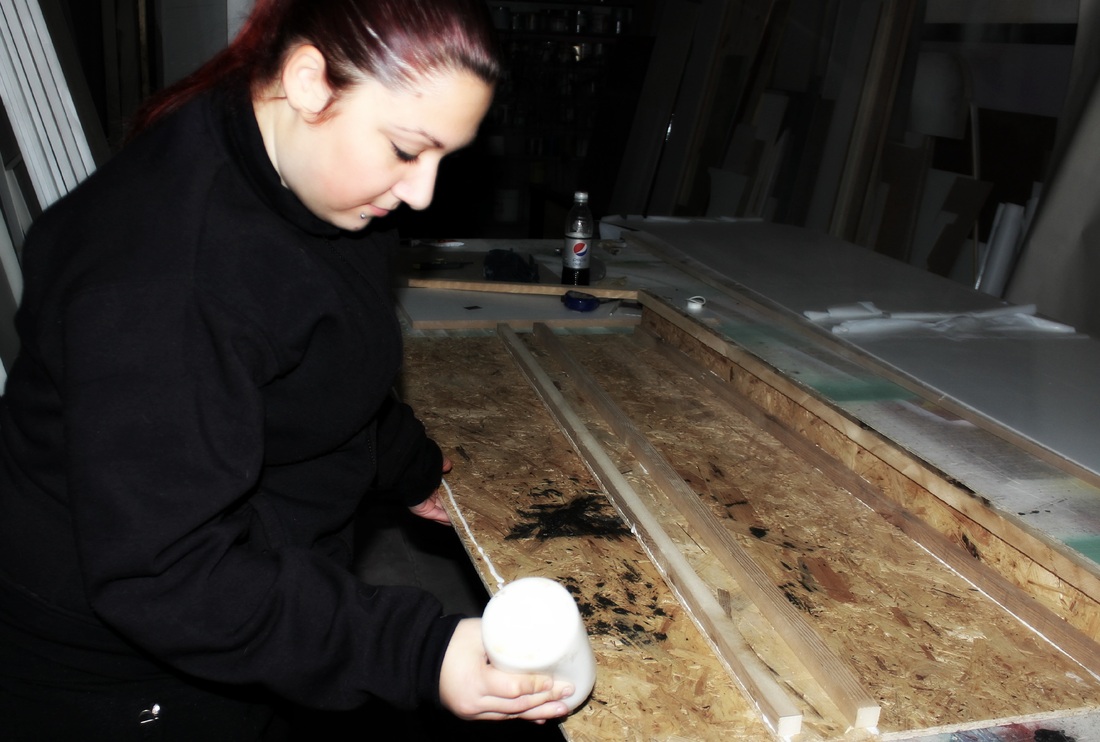
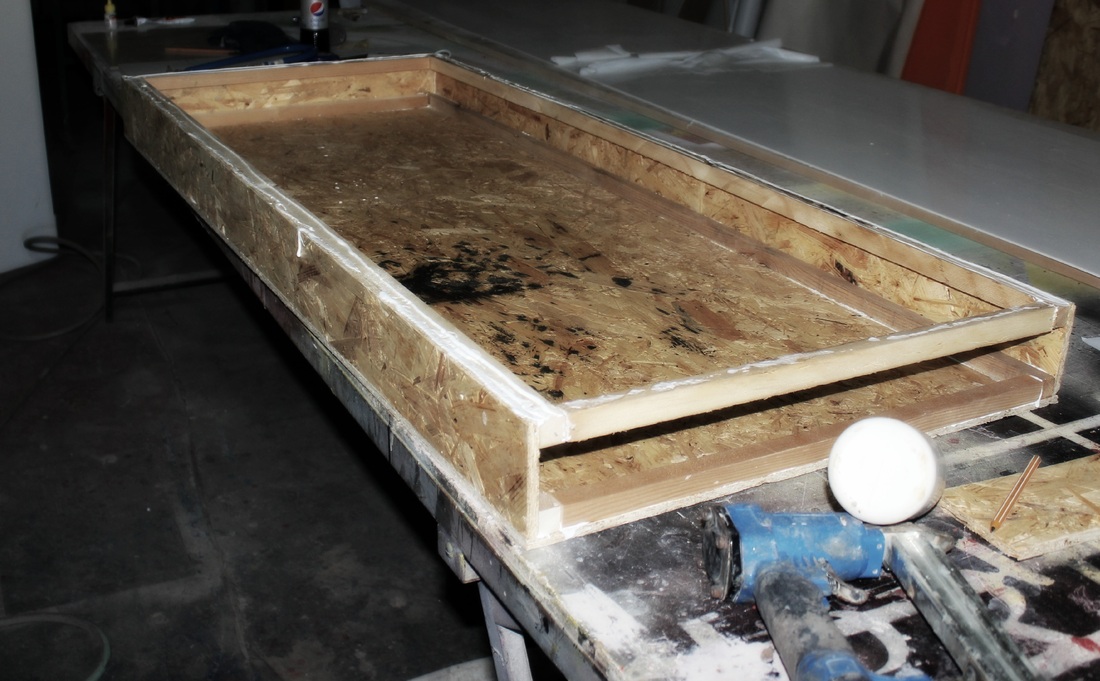
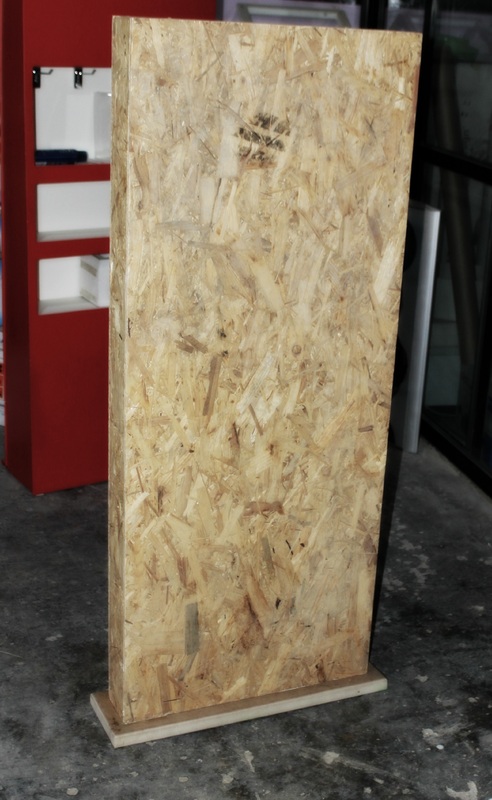
Creating The Wall
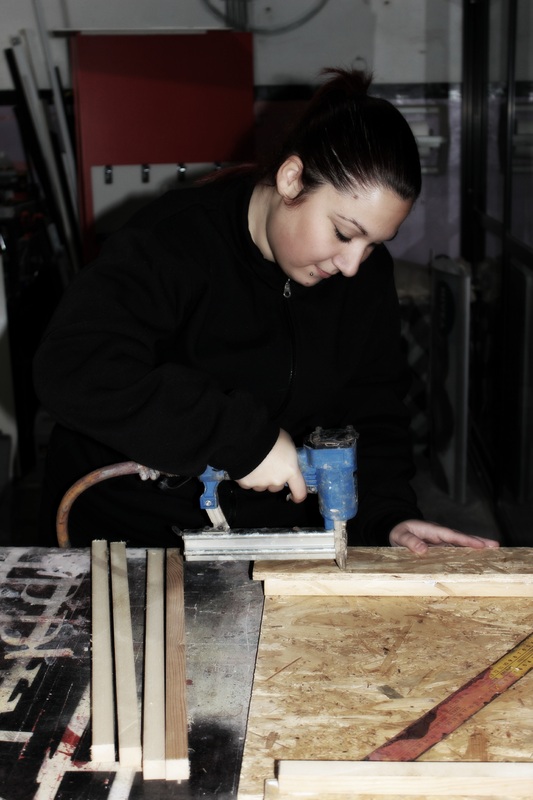
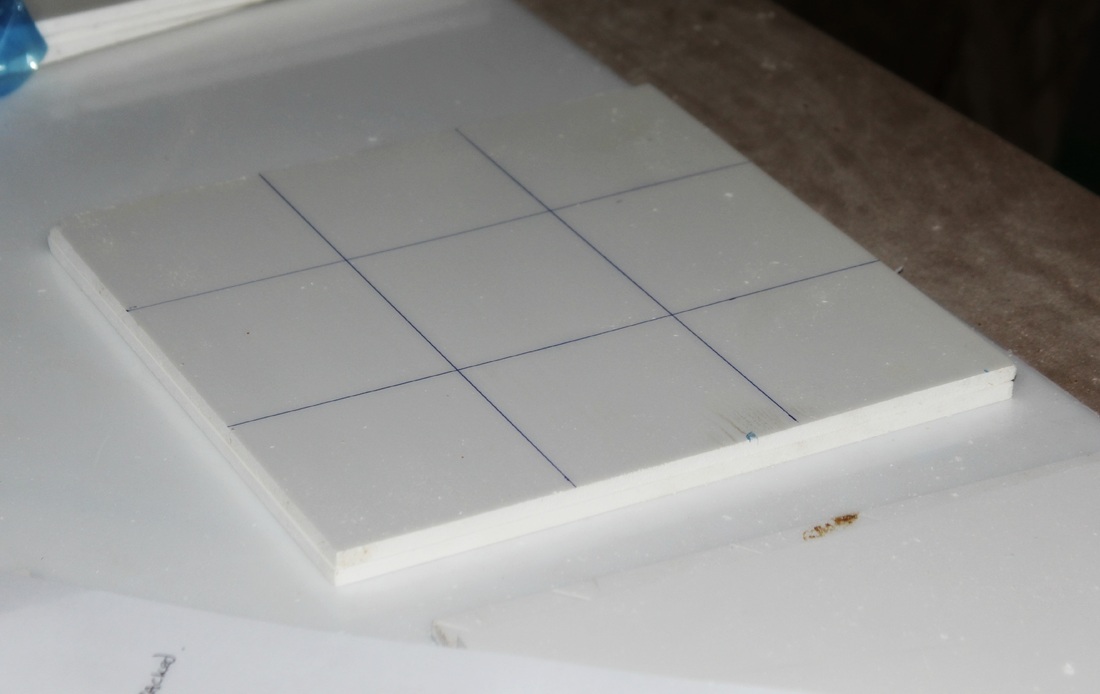
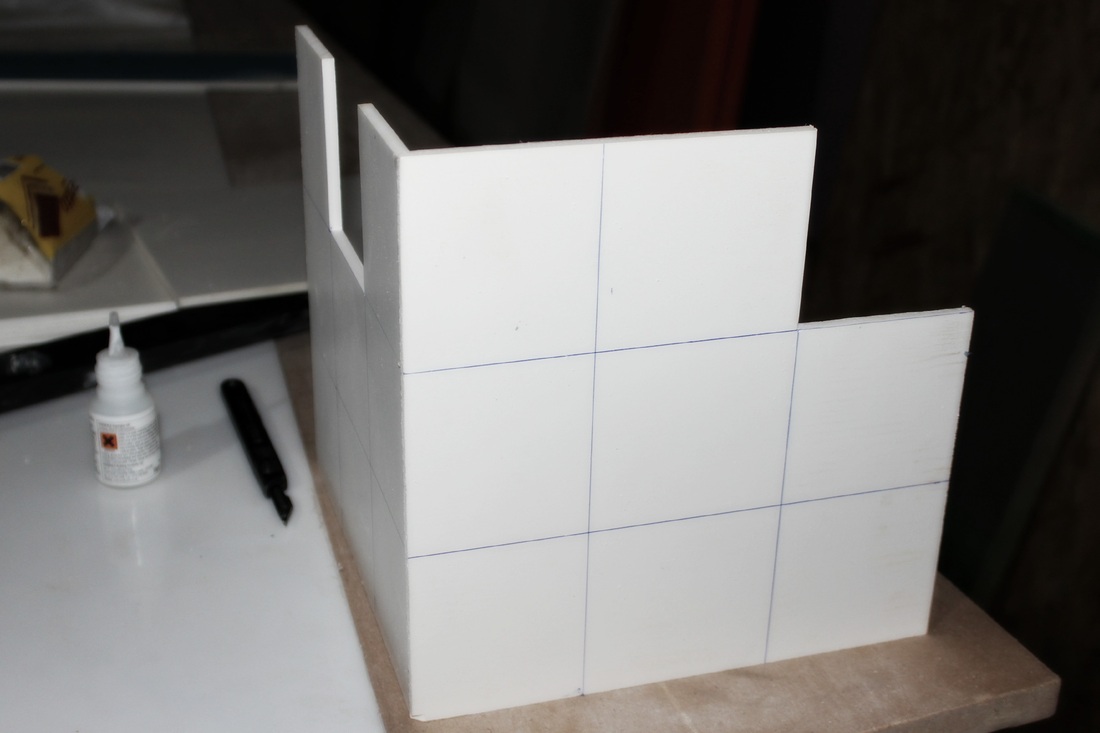
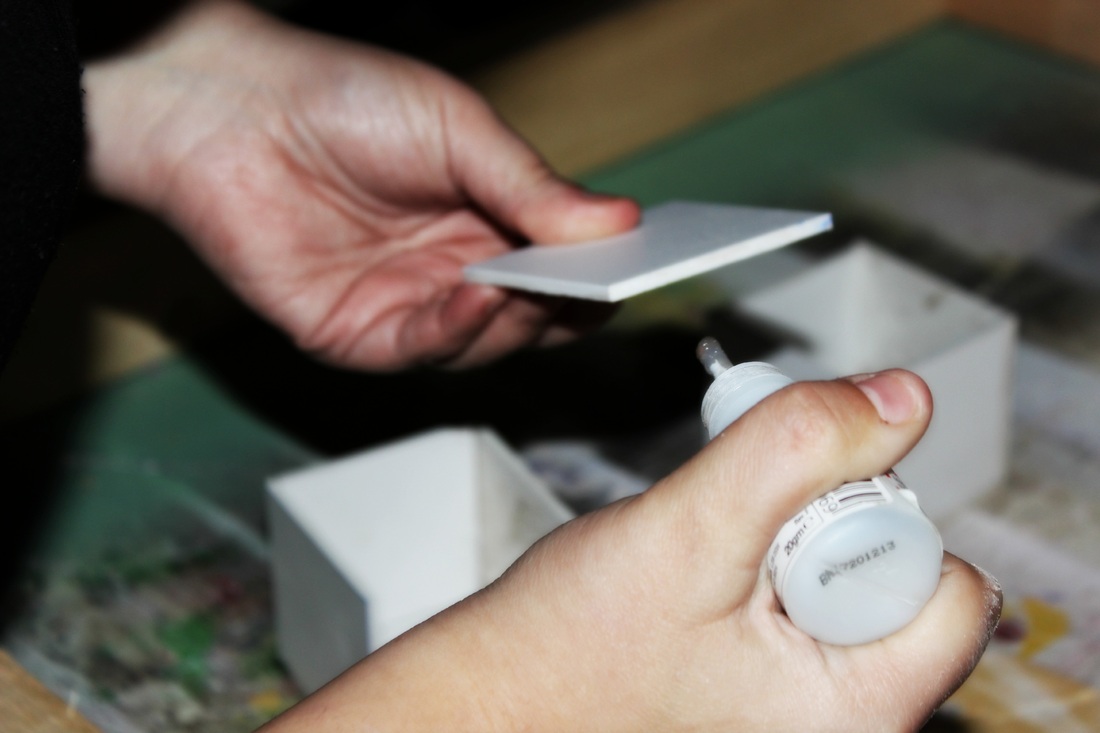
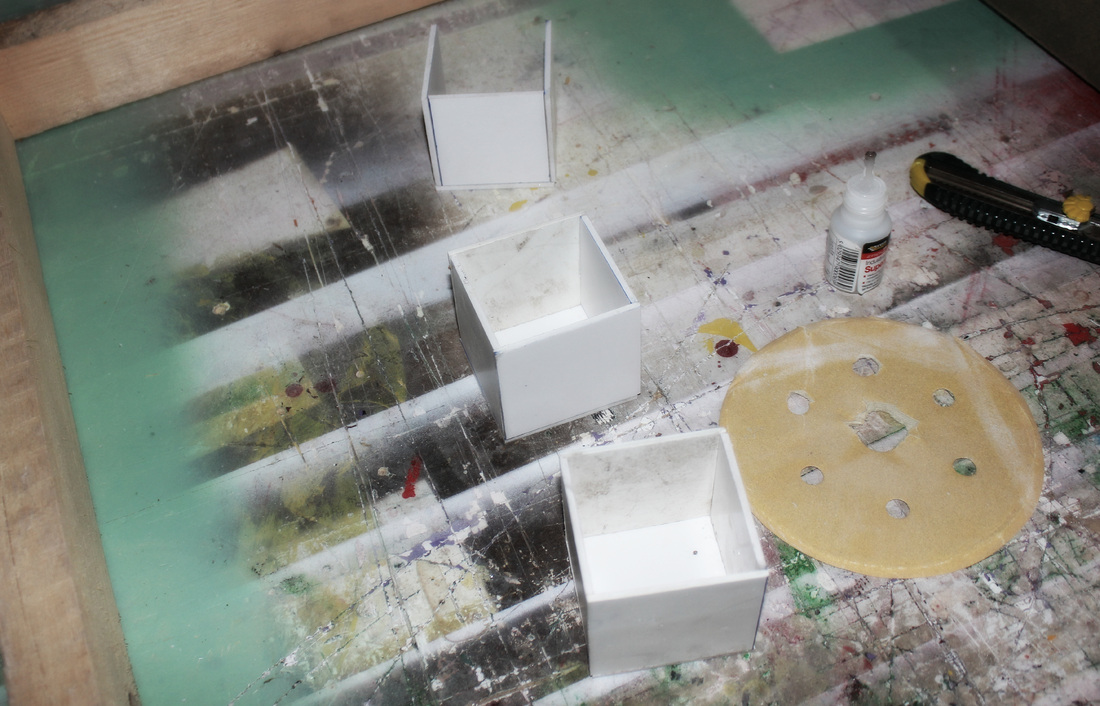
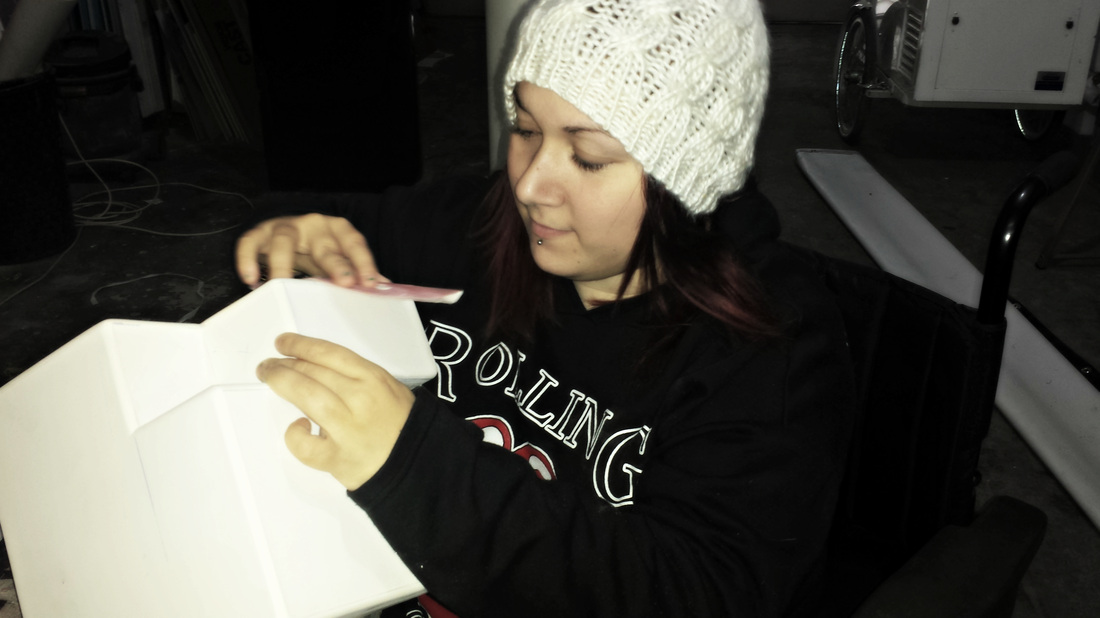
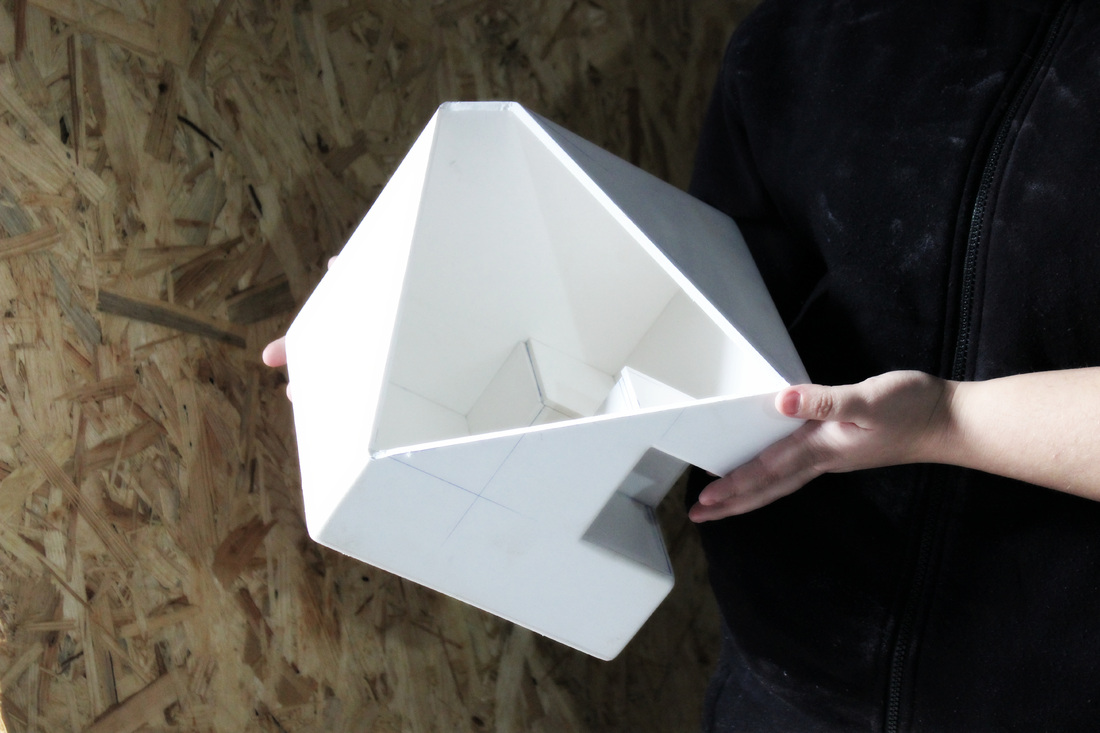
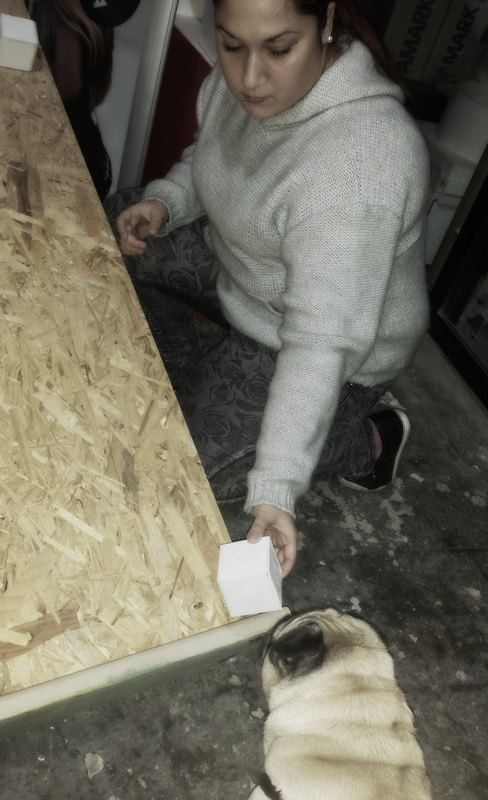
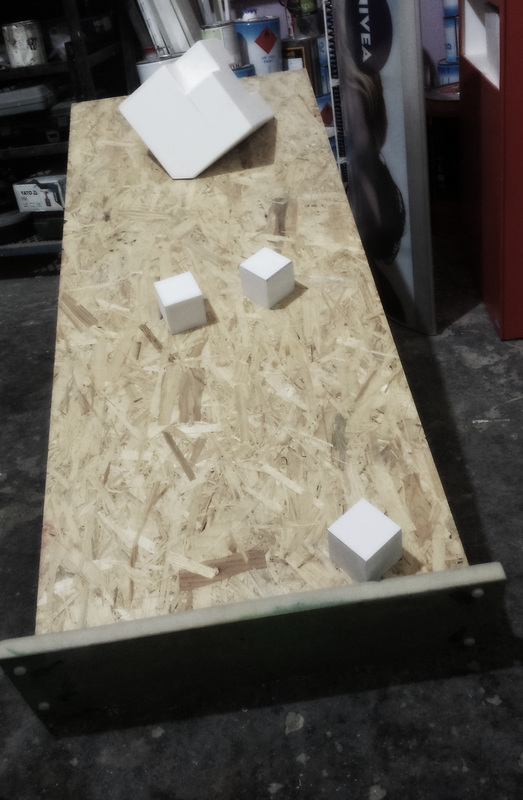
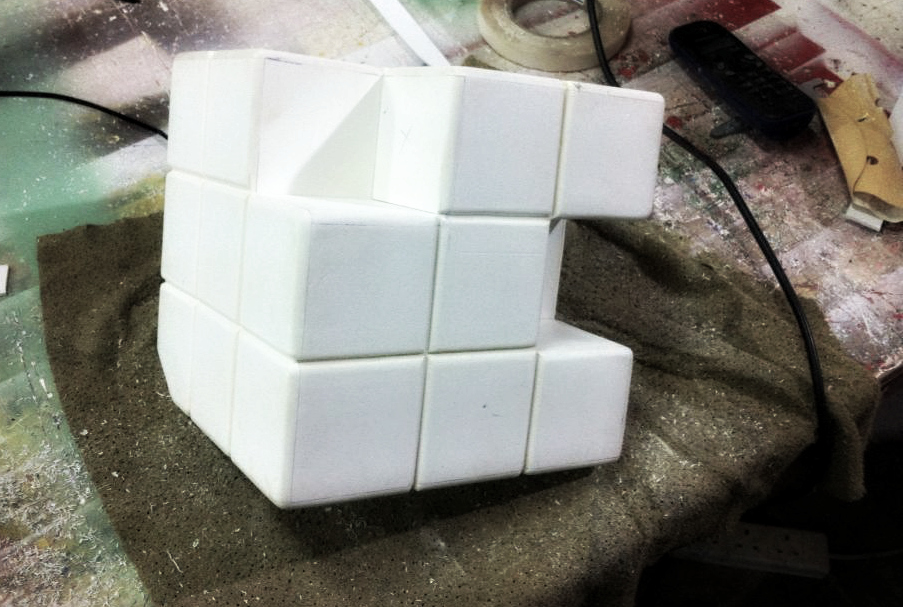
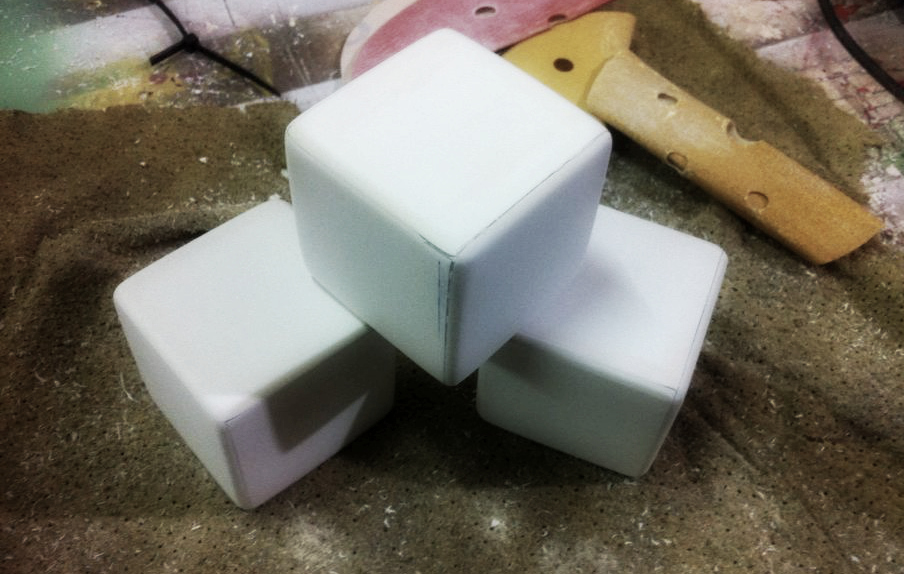
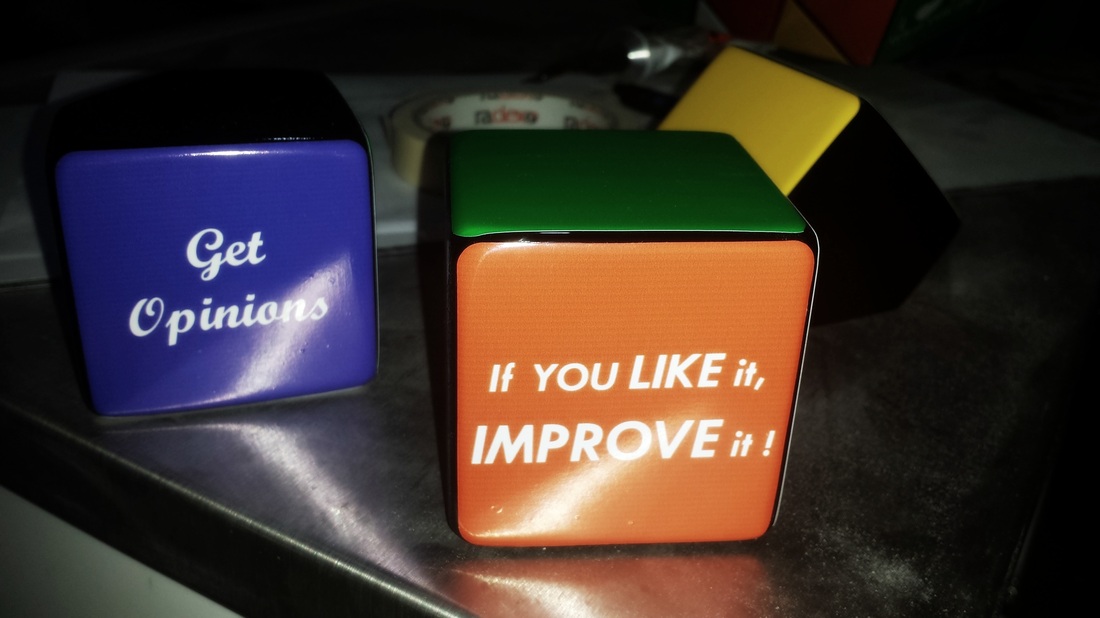
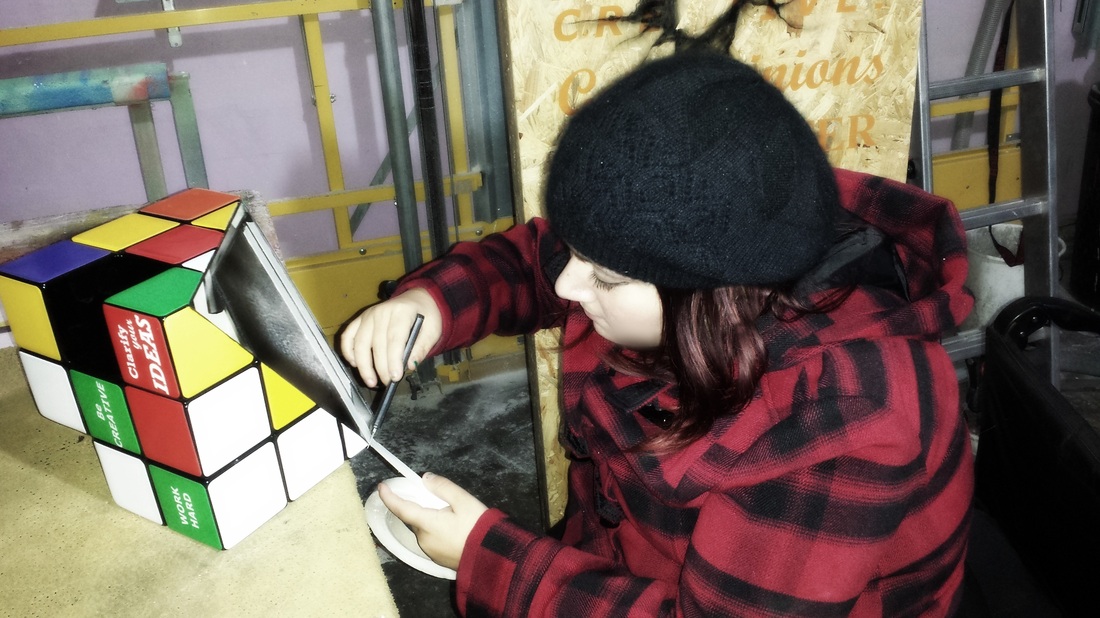
Creating the cubes
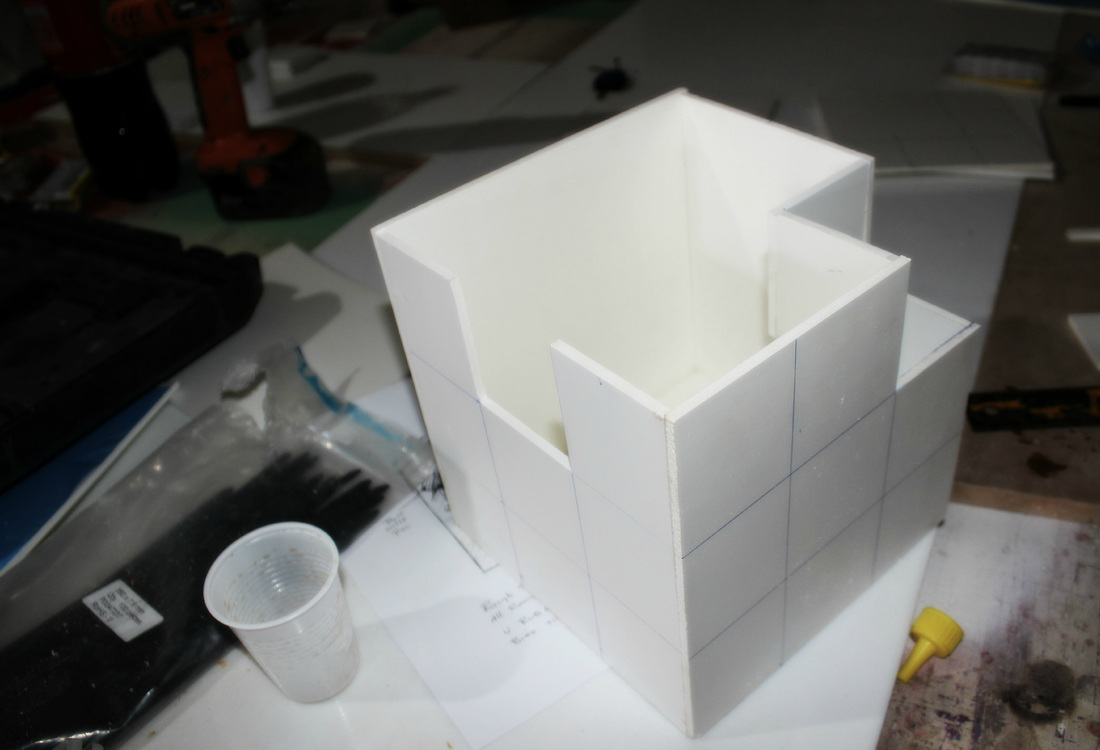
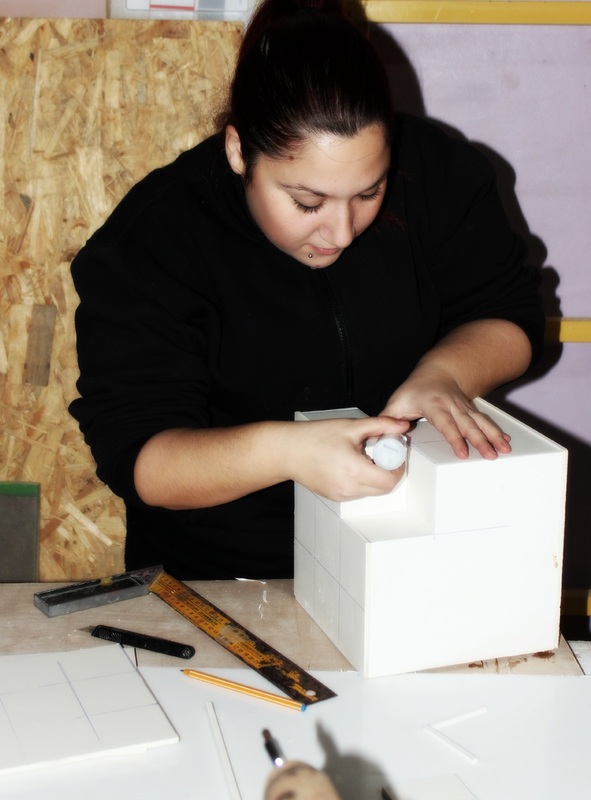
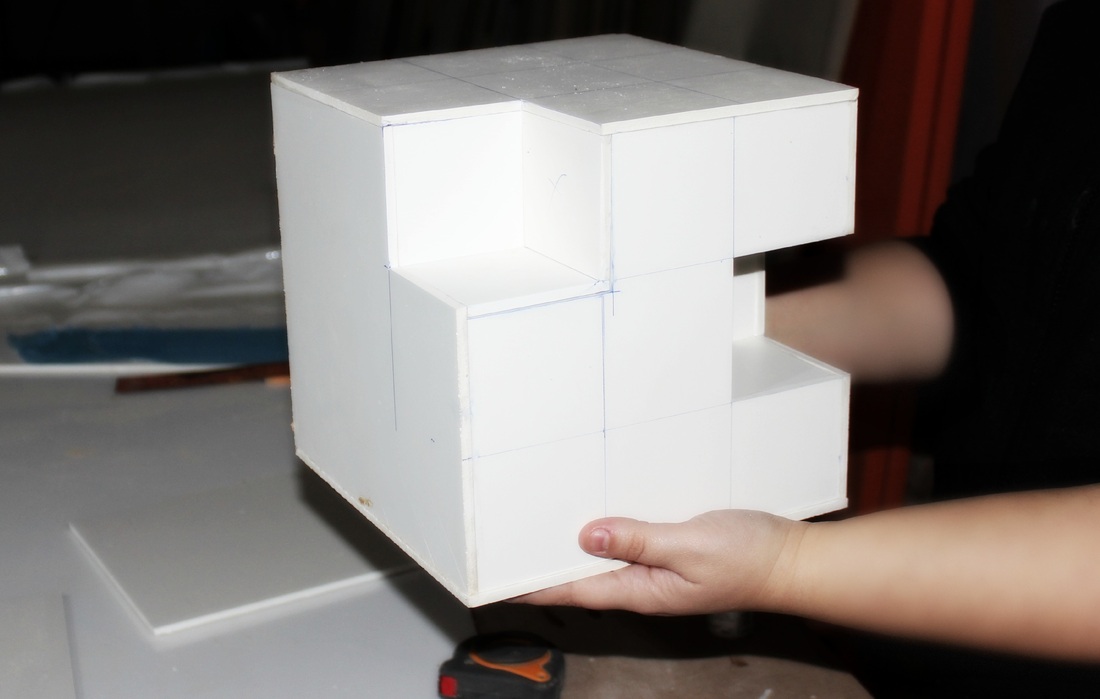
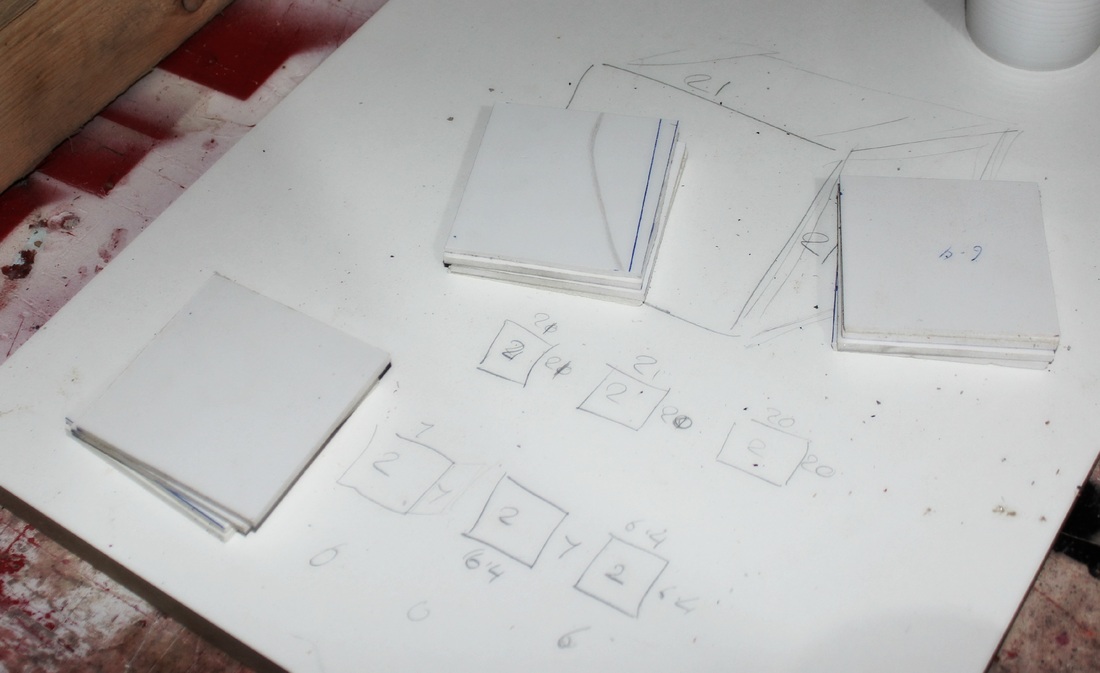

The Design
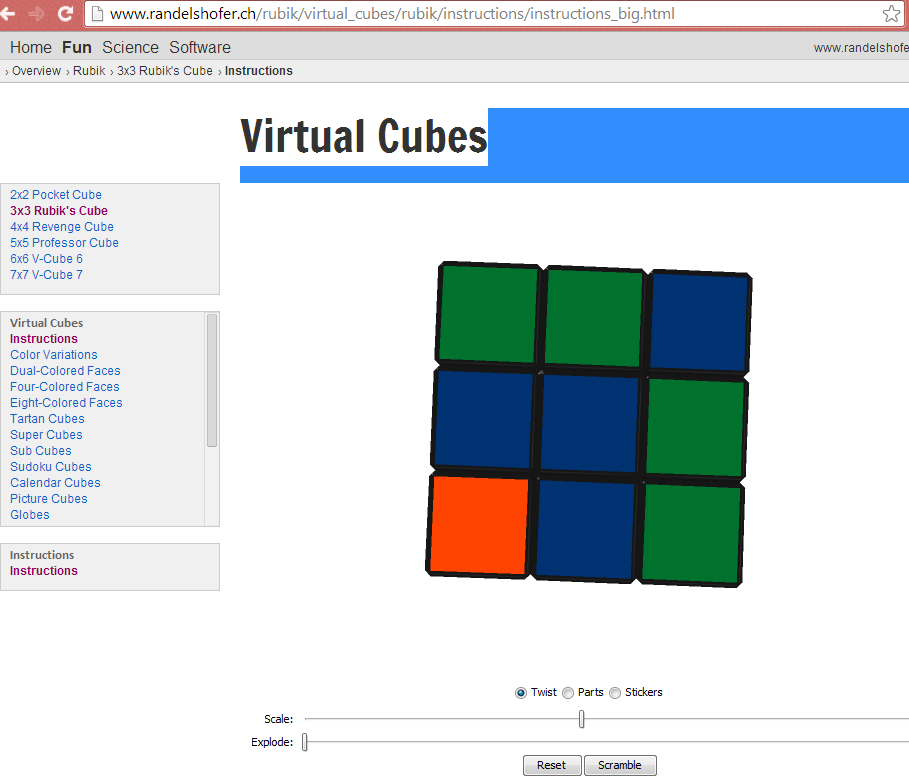
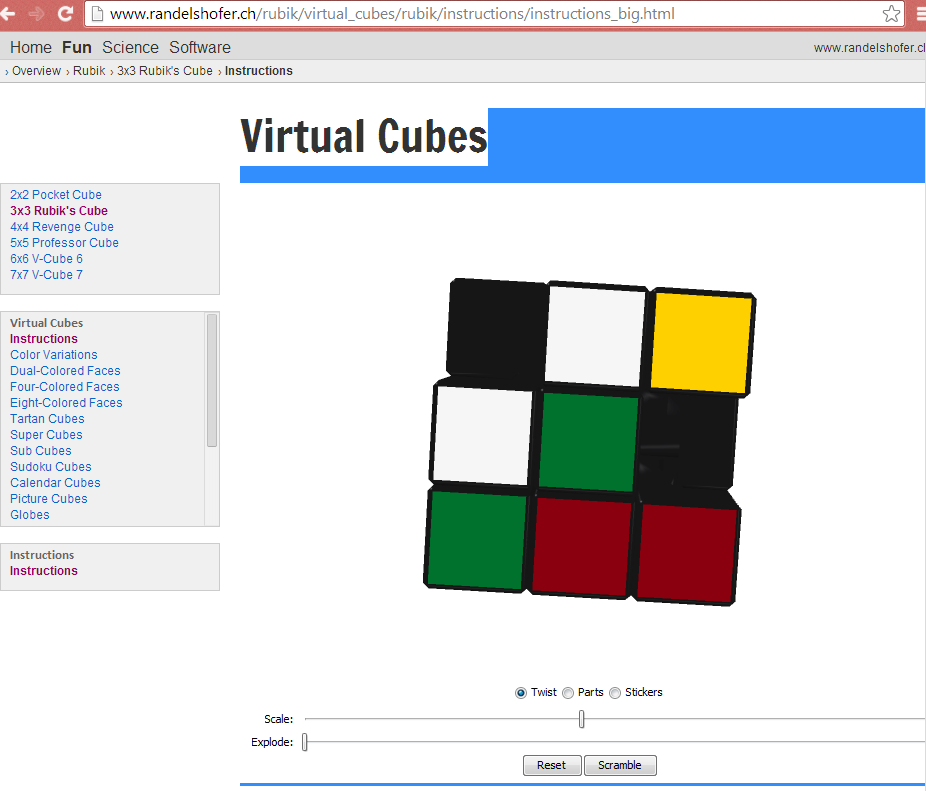
To create the colors for our rubik cube we used a 3D virtual Rubik cube that we found online and we took a screenshot of each side.
The Back Side:
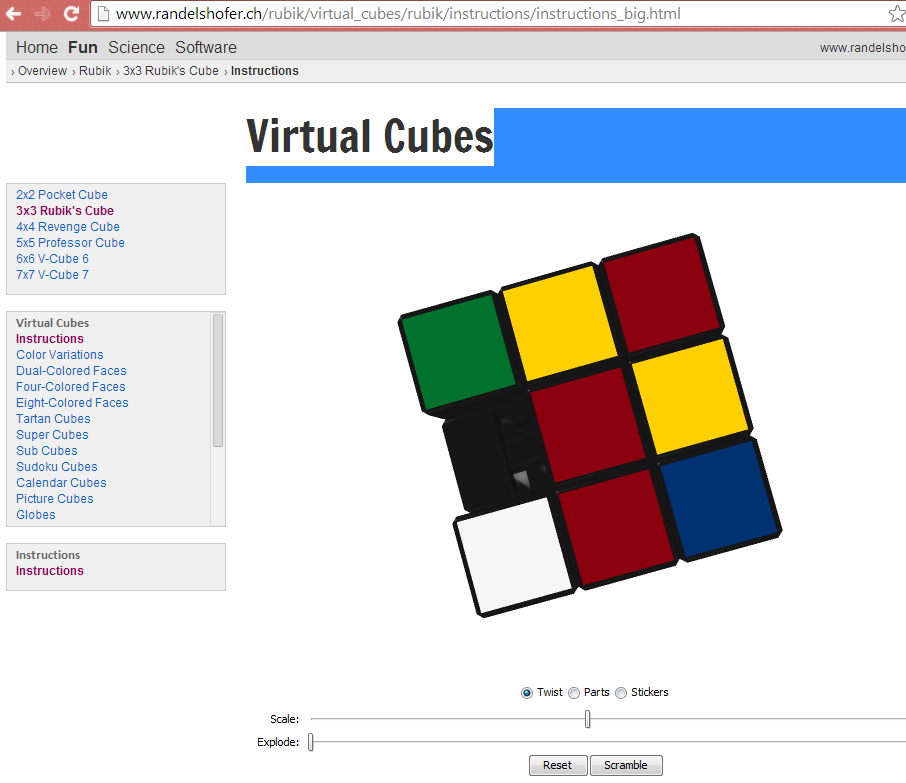
The Bottom Side:
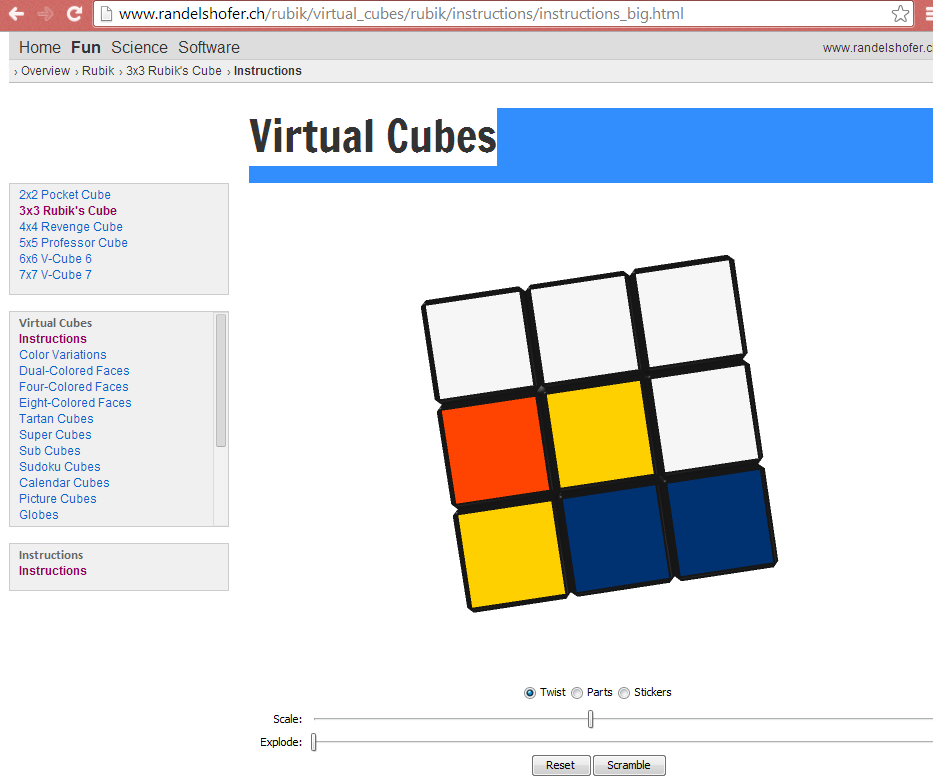
The Front Side:
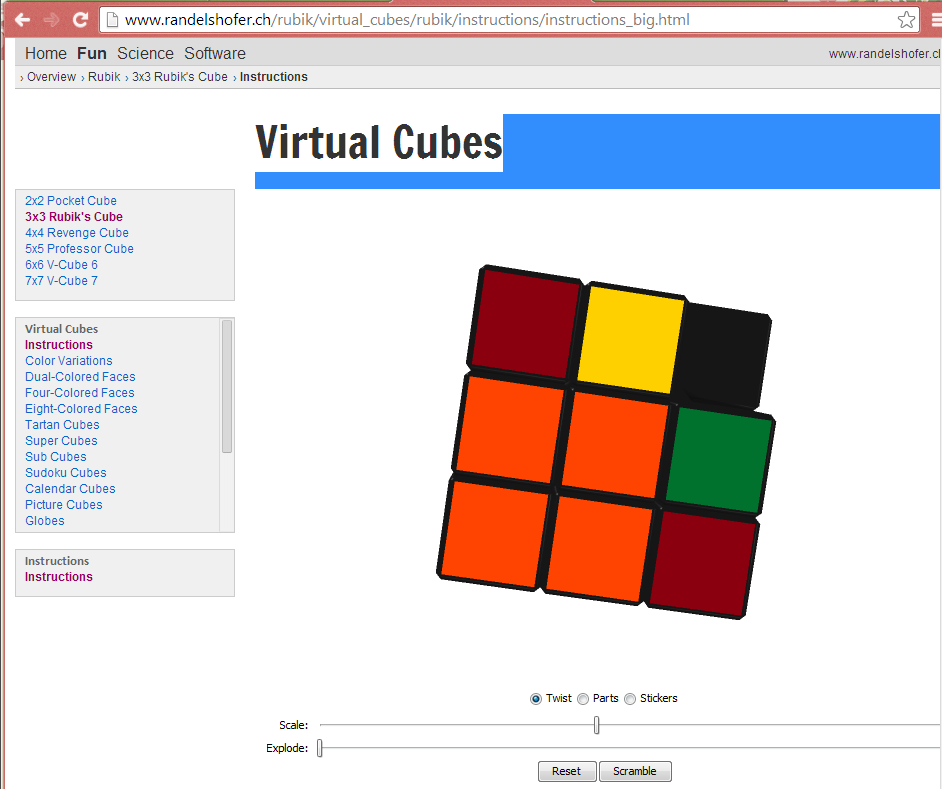
Front Top Side:
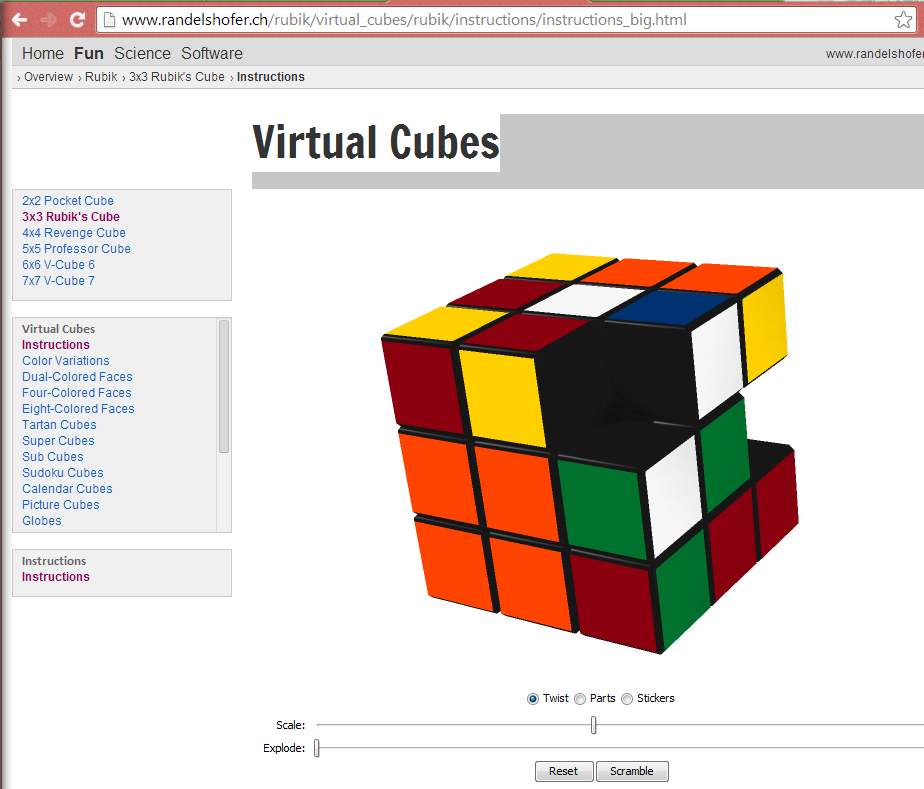
The Left Side:
The Right Side:
The Top Side:

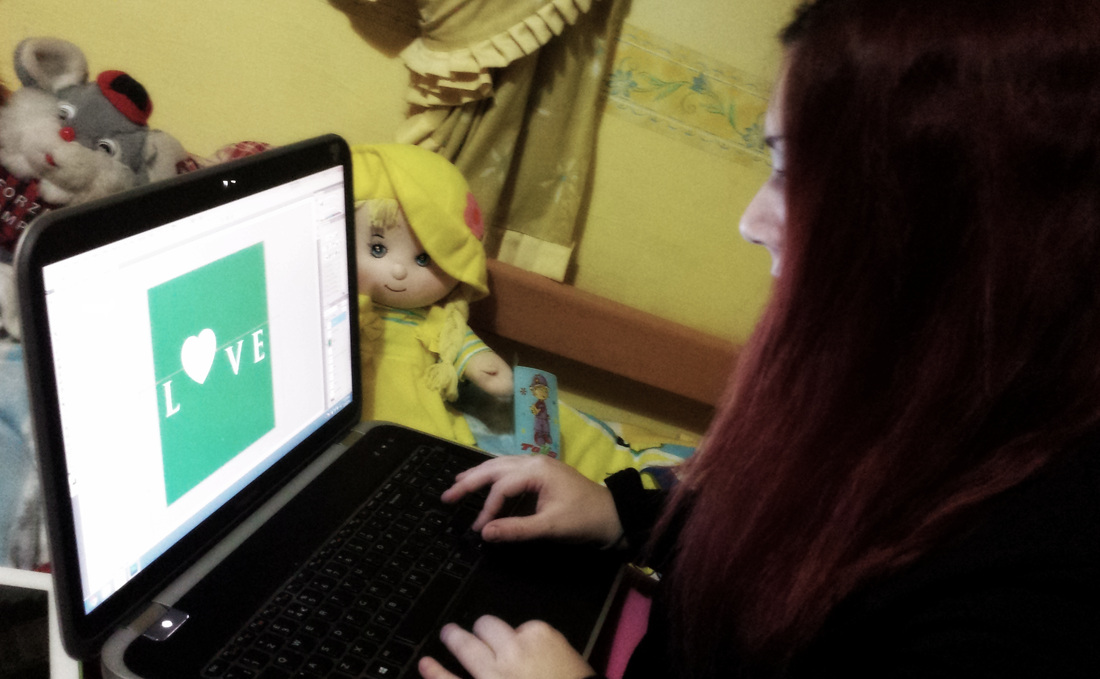
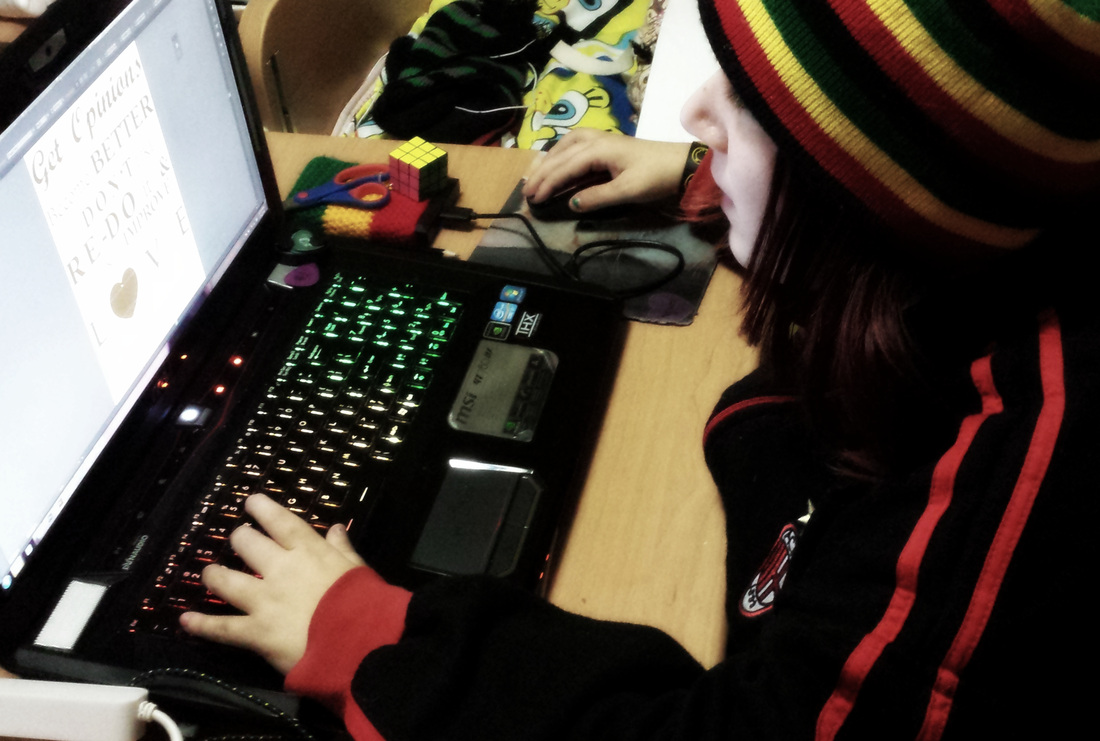
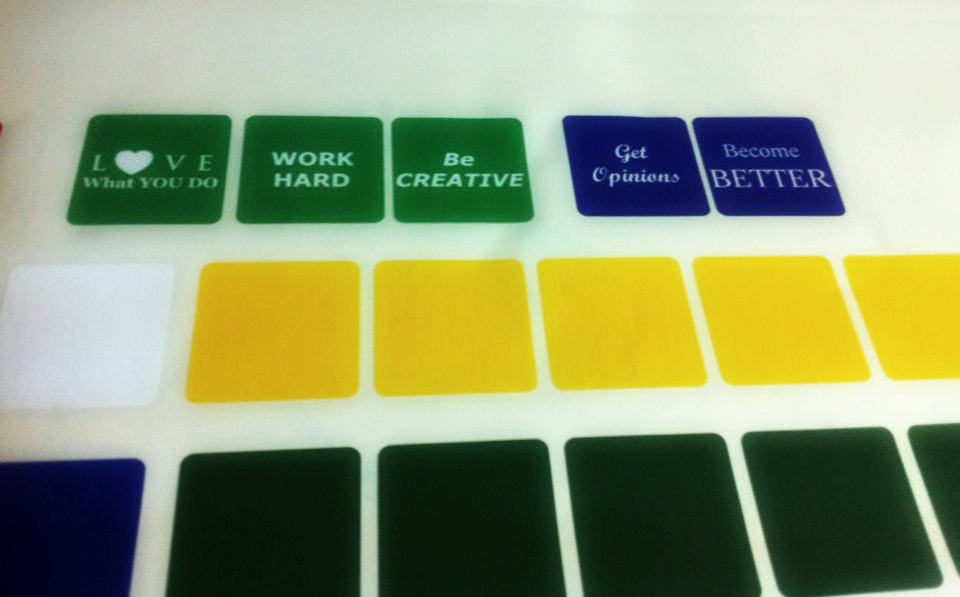
Then, we started to create each design including each boxes' colour and text and also the text that will be placed on the wall by using Adobe Illustrator and Adobe Photoshop as software.
Adding Colour to the Rubik Cube
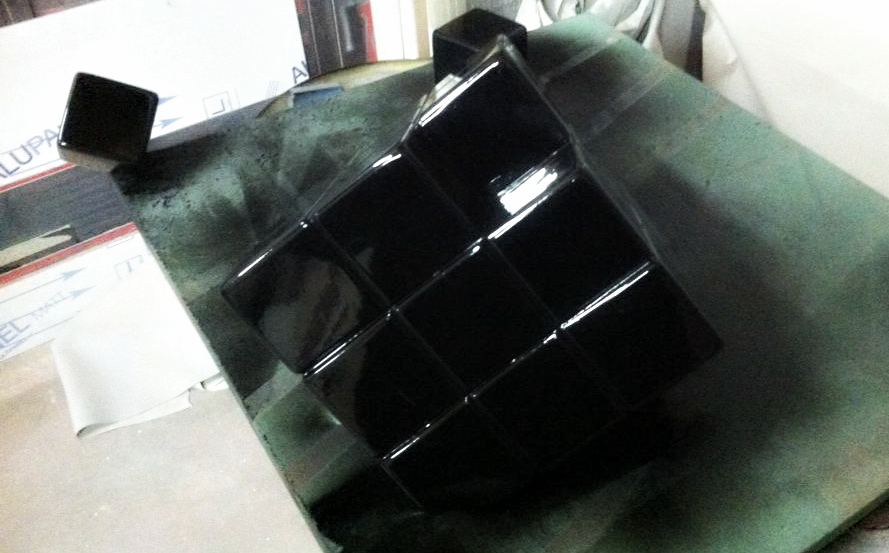
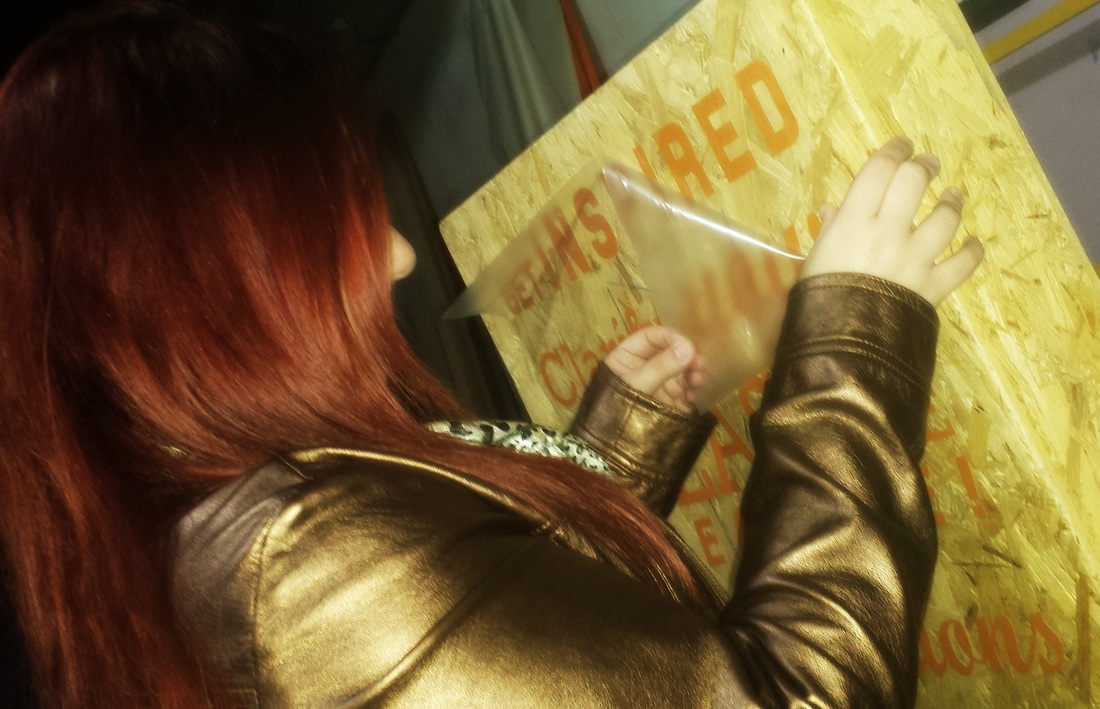
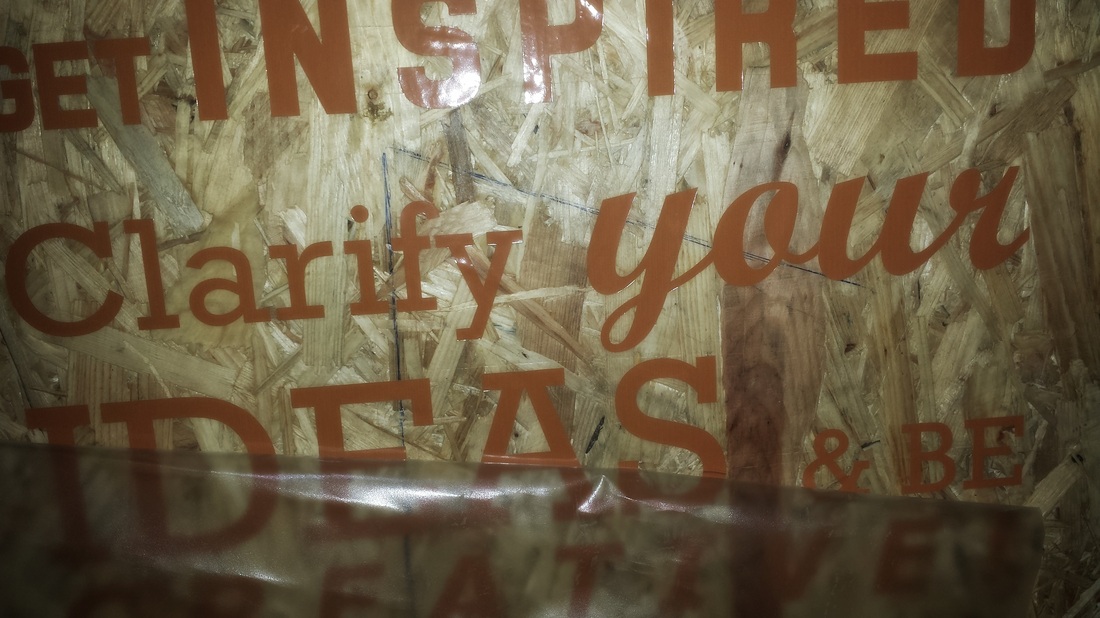
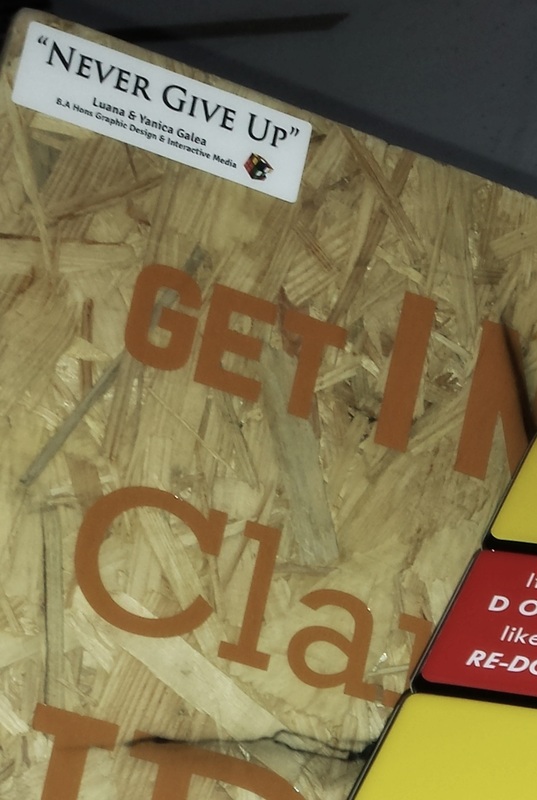
Applying the Stickers


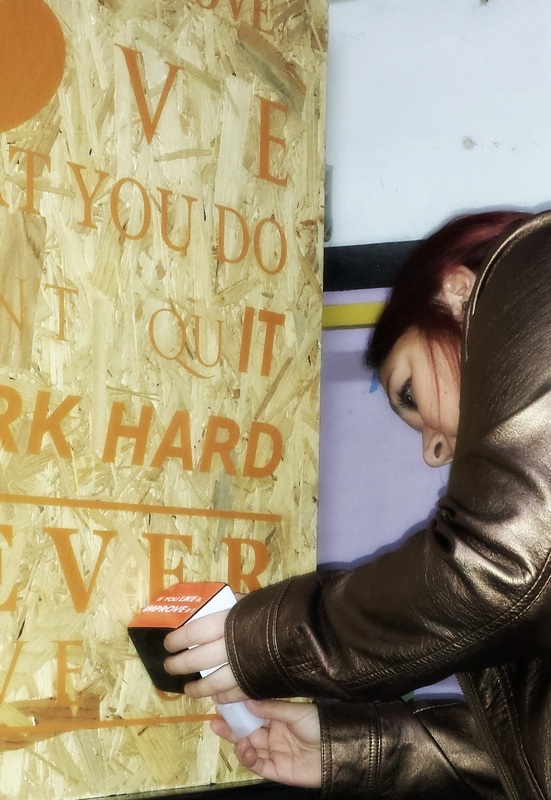
Then, We pealed out the paper from the back of the stickers and placed it on the chip-board.

After, we heated the stickers with heat gun so that the stickers will stick more on the chip-board.
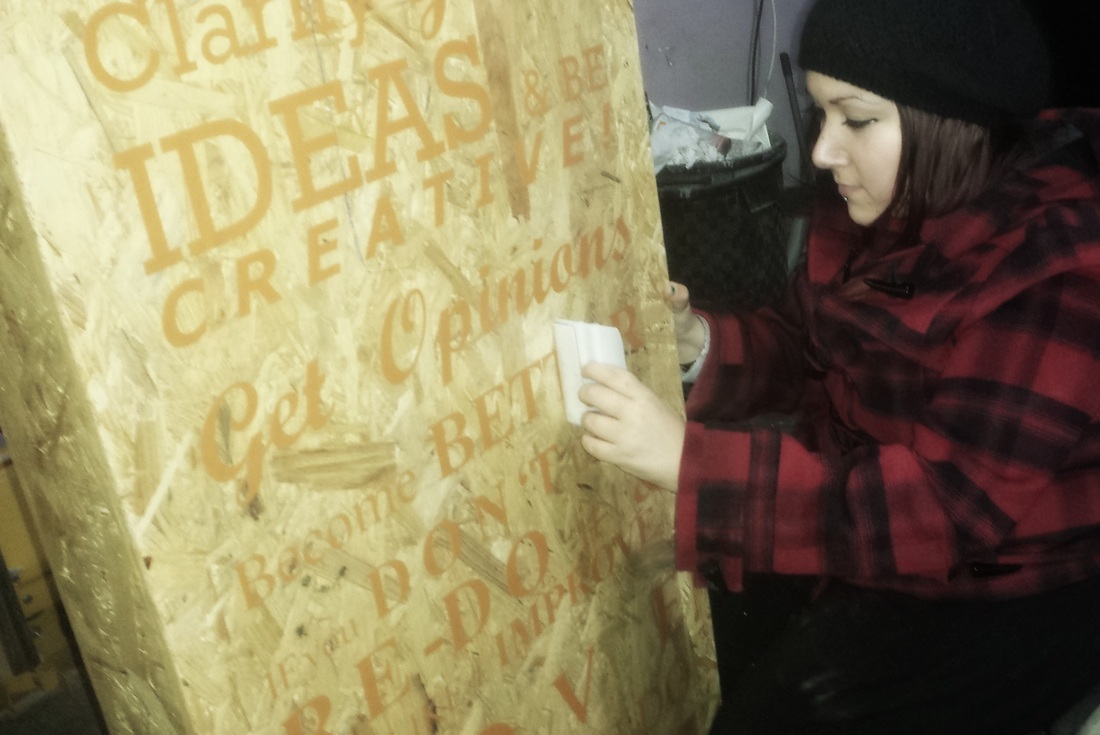
Then we took off the transparent sticker that was placed on our letter stickers so that the letters will stay in place and we can stick the letters at the same time and easily see if we were placing it in the correct place.
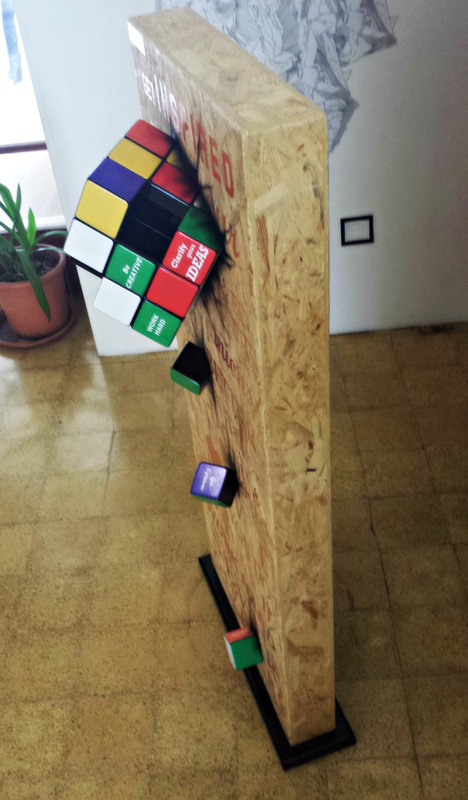
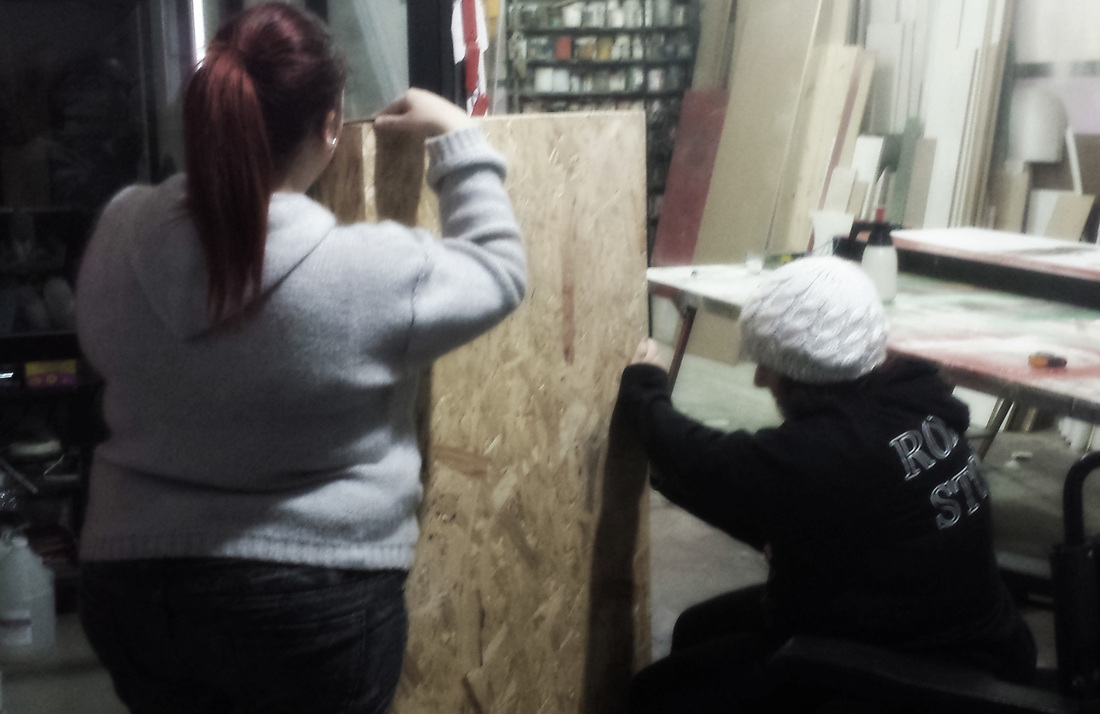
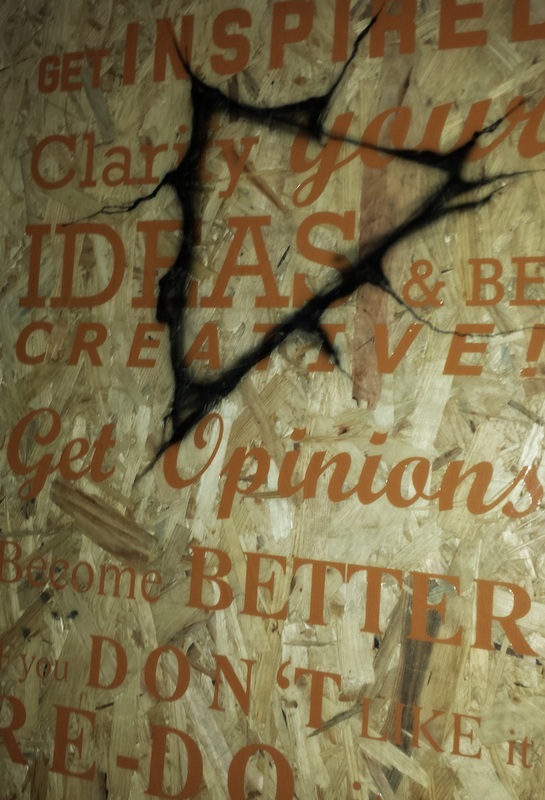
Adding the Crack Effect on our Wall (on the chip-board)
To crack effect was done by using an air-brush.
Adding the Rubik Cube and the Small Cubes to the Wall
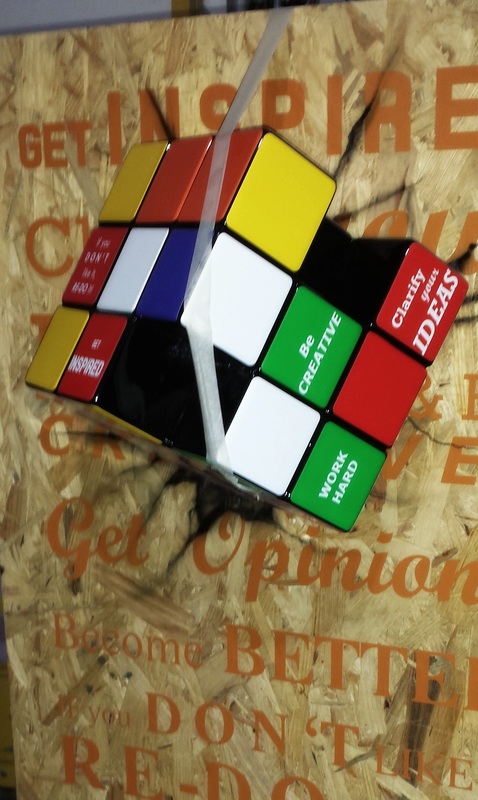
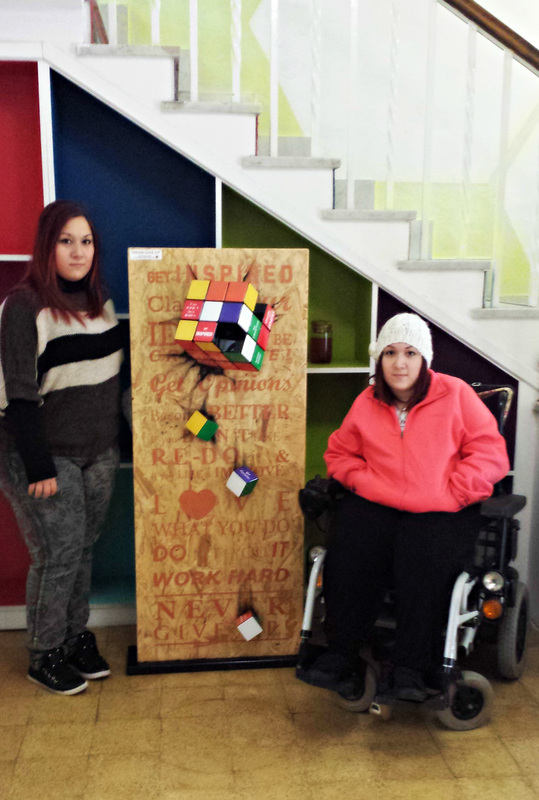
Final "Never Give Up" Manifesto
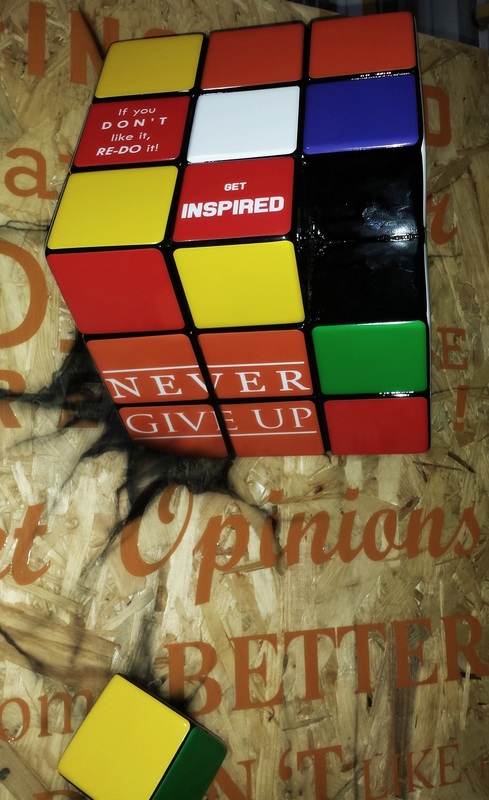
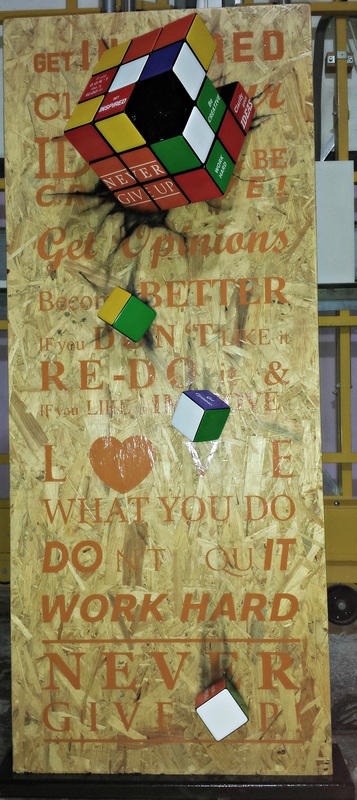
The Final Manifesto