Exhibition Examples
Exhibition in Buskett
This was an exhibition done in Buskett by a variety of Maltese artists, some already established and some which are just starting out. Some of these artists are actually MCAST students. The art was placed around the garden and turned it into a surrealistic world. Though some of the art was modern the way it was incorporated to it's surroundings transformed this garden completely. Although there weren't many signs there where a few arrows on stumps to show you the direction of the path, then one just has to follow the footpath from there. The signs were done to match their surroundings which was quite clever as they did not obstruct from the beauty of the garden or the artworks. They also had a children's area which looked like a chessboard where children could play and draw an whatever they liked. The area looked like an artwork itself therefor continuing with this surrealistic scenery.
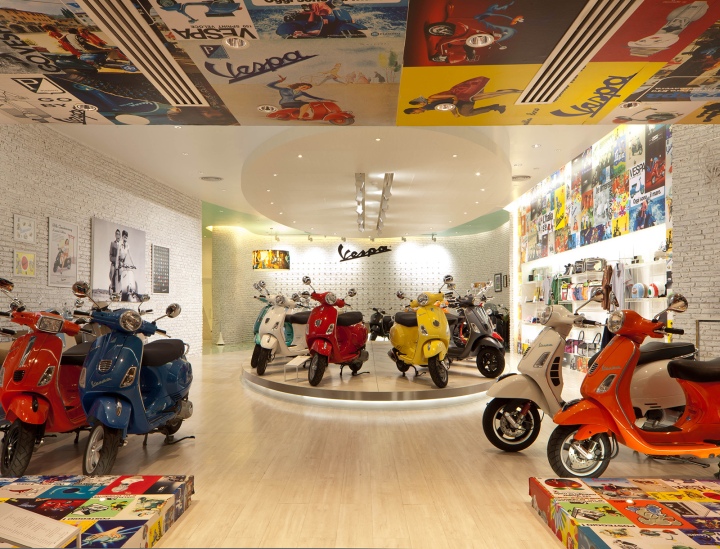
Pedrali Wheel in Milan
This exhibition was done to celebrate 50 years of Pedrali (a company that makes chairs). They wanted to display functional objects as art. They used the "wheel" to display their chairs and they can be seen in all different angles. They also projected the chairs on the wheel (in the middle). They also displayed the different types of chairs on circular raised platforms so that the people can see them also in a functional way and not just in an artistic way. The branding is very consistent through out. It uses the wheel everywhere, even around the name they used circular lights to keep with the brand. They managed to get this huge open space and made an interactive exhibition, which people can walk in and around, the people can interact with the exhibited pieces on the platforms. Although there is no clear way finding the way the exhibition is set up it 'makes' you walk through it in a certain way so it would keep the flow of the people going.
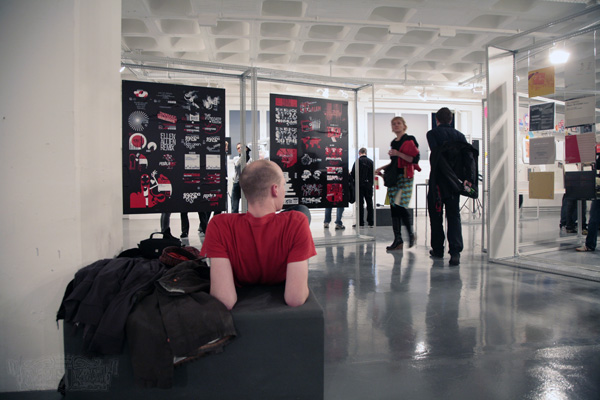
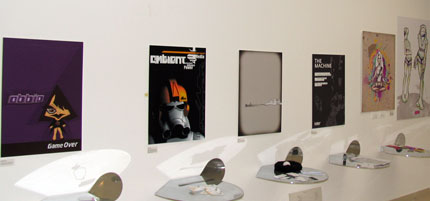
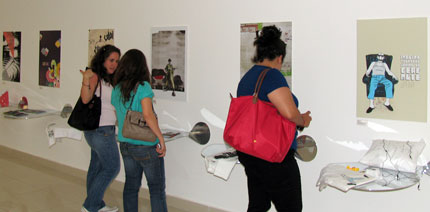
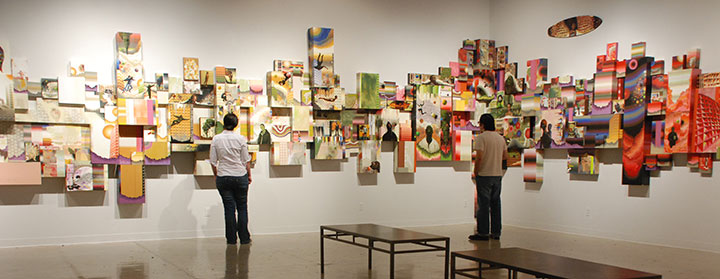
Core 77 Open Exhibition
This is an exhibition which was held in New York during the New York design week. There was a call for artists from Brooklyn, The Bronx, Manhattan, Queens and Staten Island to exhibit there work and represent the place that they are from. The exhibition space used pellets stacked on top of each other to create the skyline of all five places. "The designers representing these neighborhoods continue to explore the space, negotiating technologies, materials, histories and futures in the crucible of a dynamic city. Interpretations may vary, but the voice of New York City is as bold, inquisitive and imaginative as ever." The brand was consistent all through out of the exhibition, but it was done in a subtle way. Such as including hints of colour according to the different sections (cities), it keeps the use of wood and pallets all throughout the exhibition which also shows consistency. For this particular exhibition it was very important that the exhibition is consistent since the artworks are all from different artists the artworks themselves are not consistent. Also they had to make sure that each artwork fit in the allocated spaces. They managed this perfectly as the artworks fit in like a puzzle put together. The lighting of the room was very well done, and the pathways where spacious so there will be as little congestion of people as possible. They used the room to it's fullest without using it just as a white room with artwork displayed on the floor and walls.
Photographic Survey
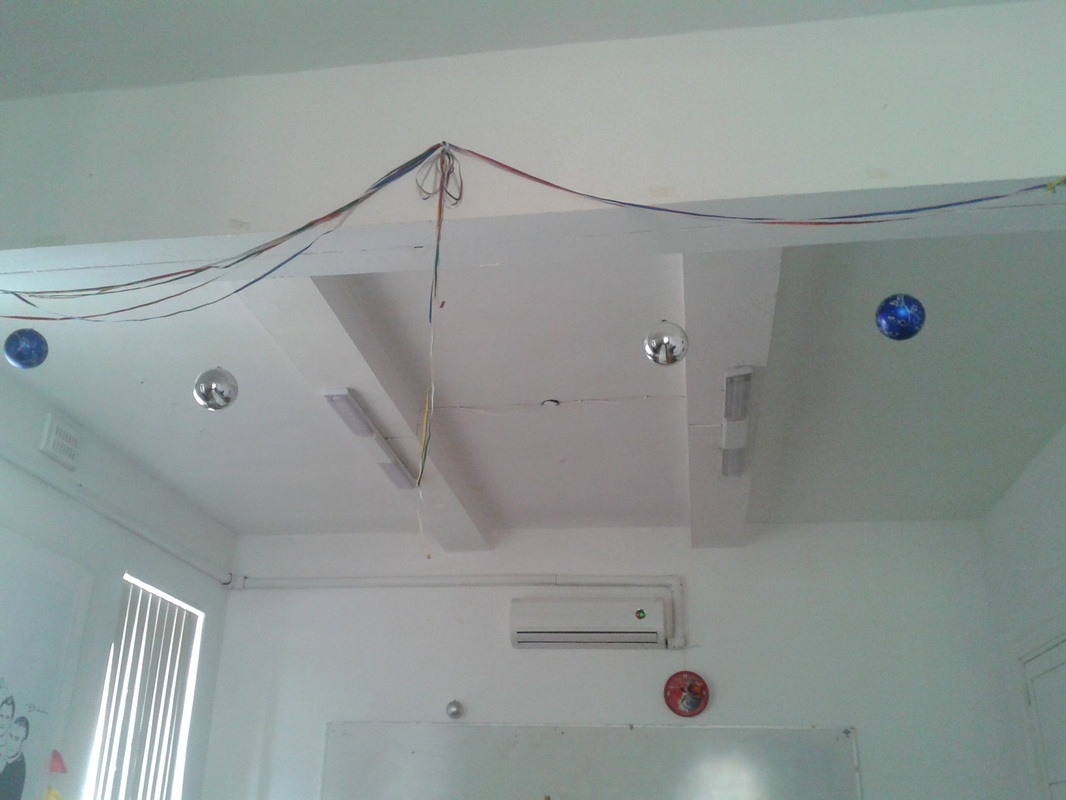
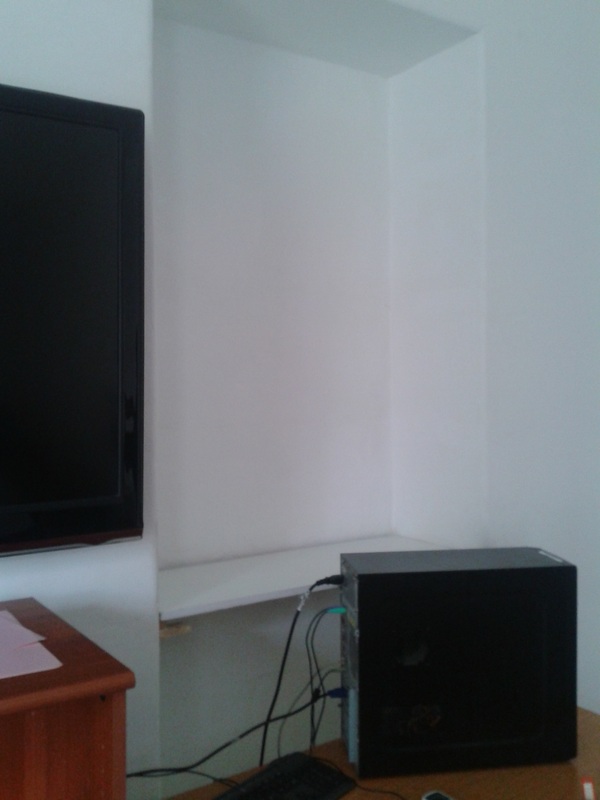
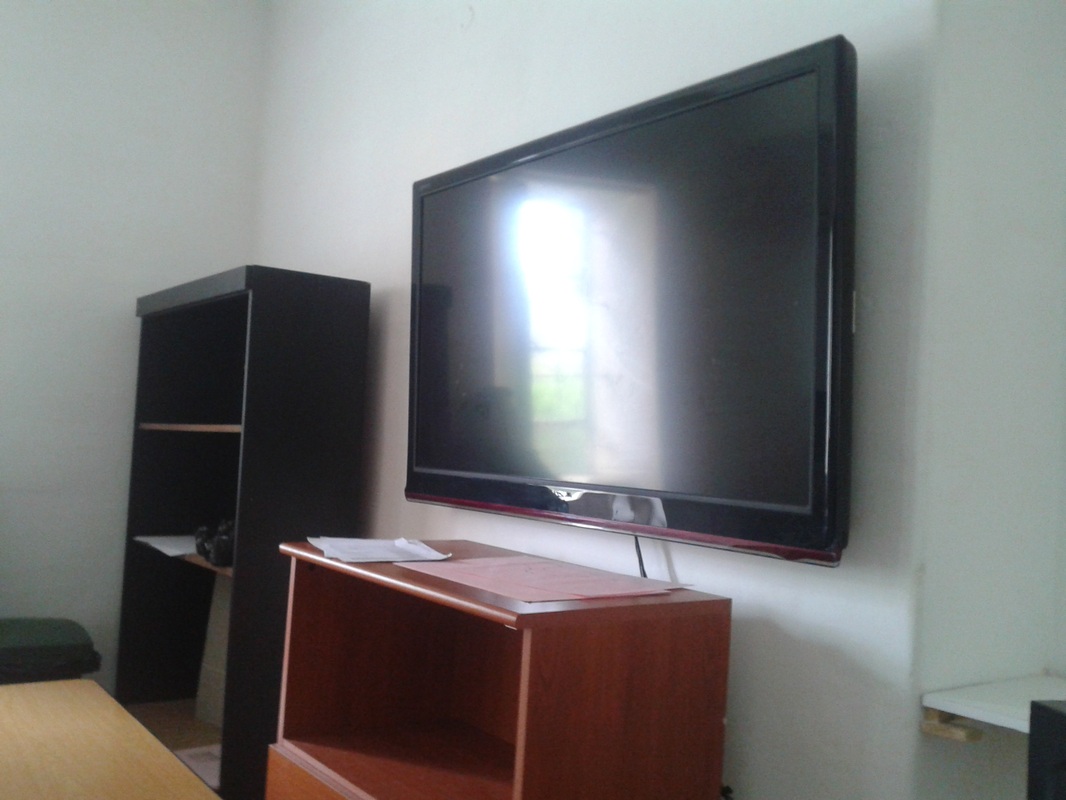
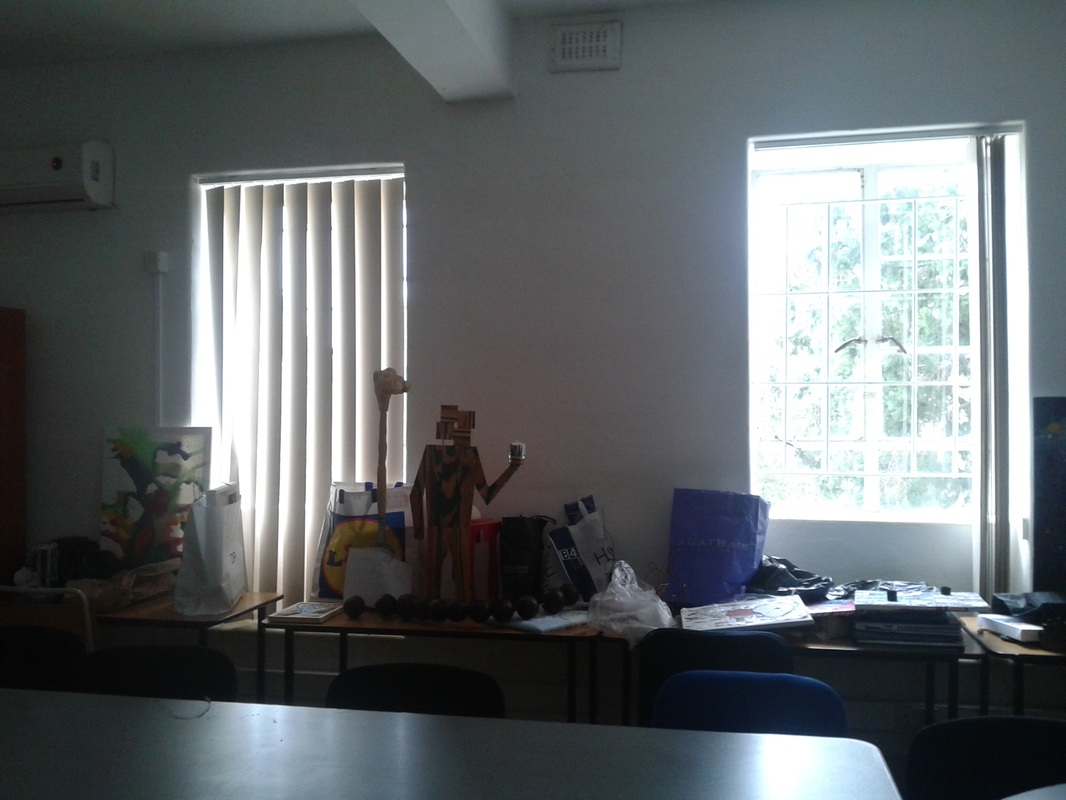
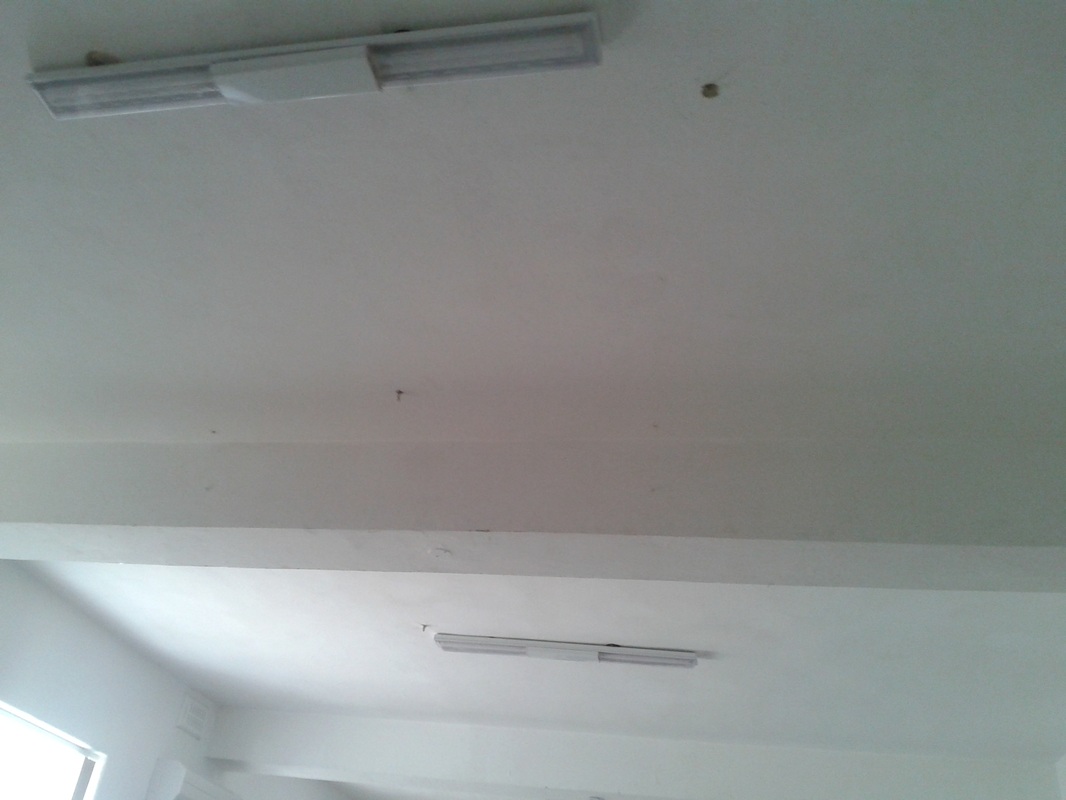
Degree 3D Room

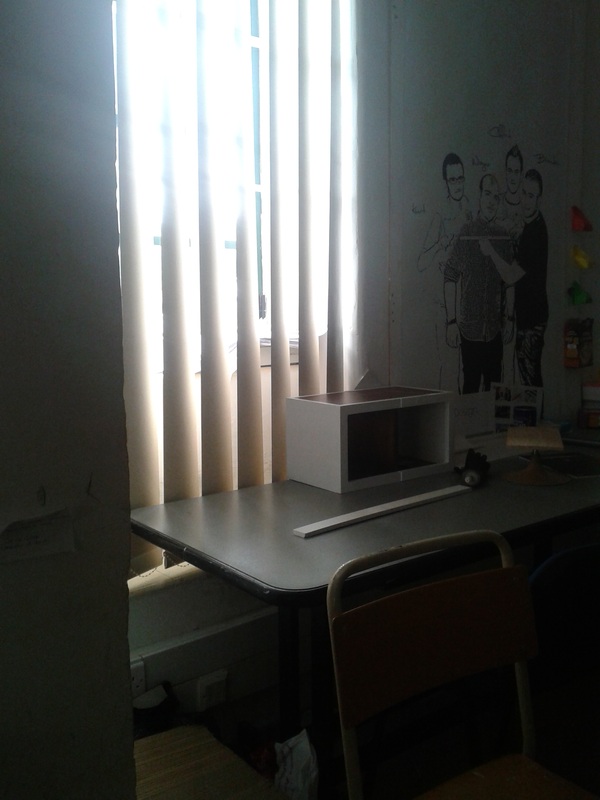

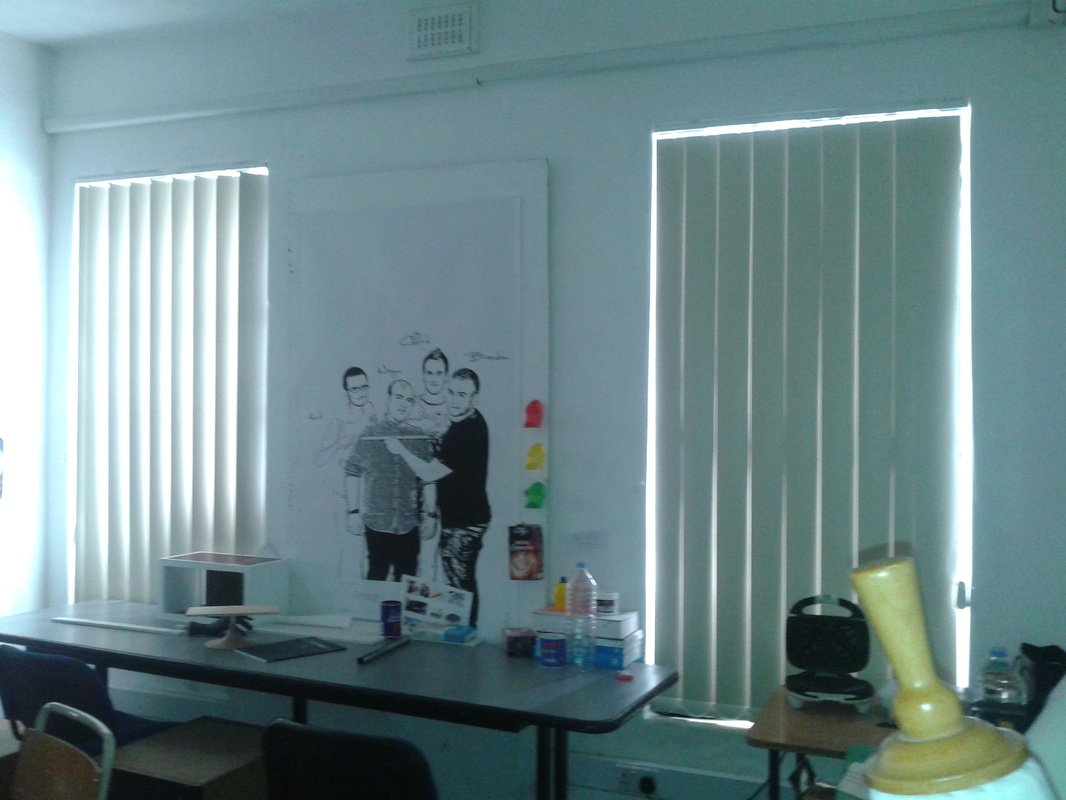
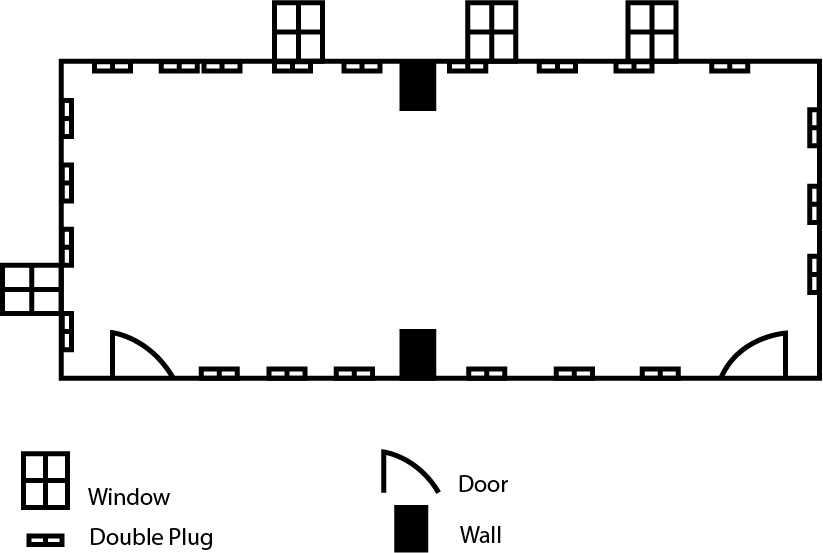
In this room the only problem is the piece of wall that is jutting out on each side. We can maybe build something around it to cover the walls. There are 2 doors on one side, so we can have an in and out flow through them. The windows we can cover with boards so we can use those spaces to exhibit items there as well. There are about 44 plugs all around the room which is good for us in case we need to show our work on screens or use projectors. It is quite a big room but we need to make sure to divide it well so that it will not look like it's over packed with stuff.
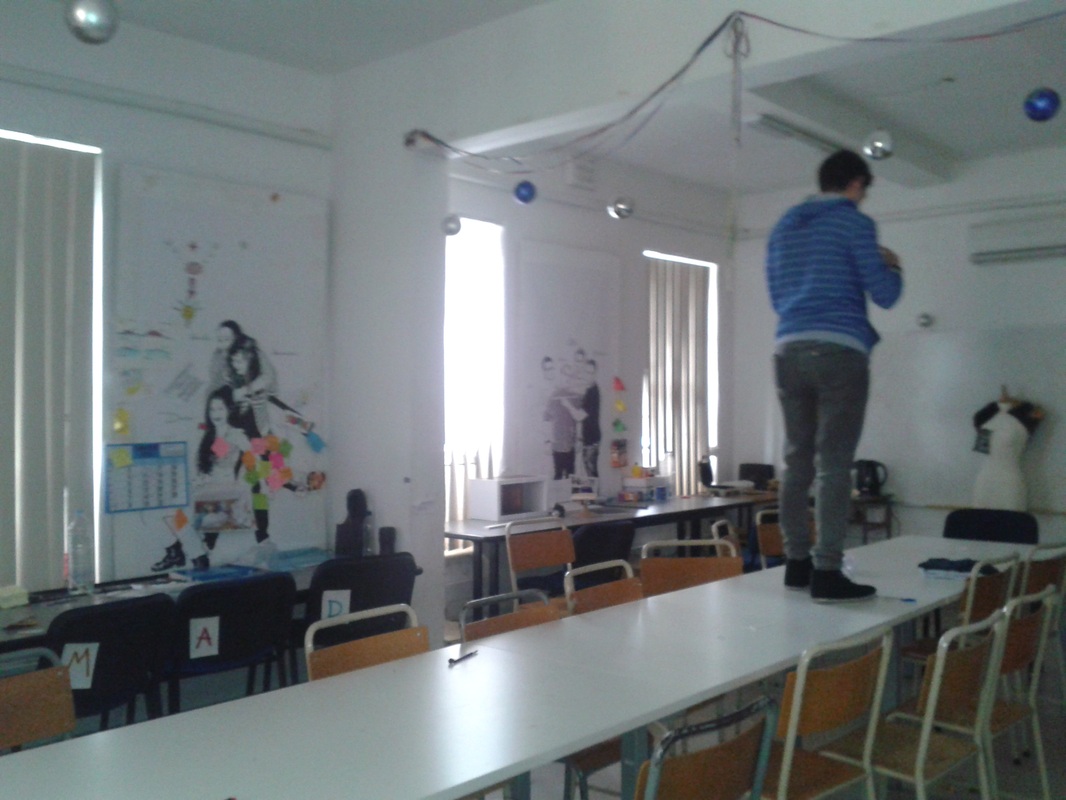
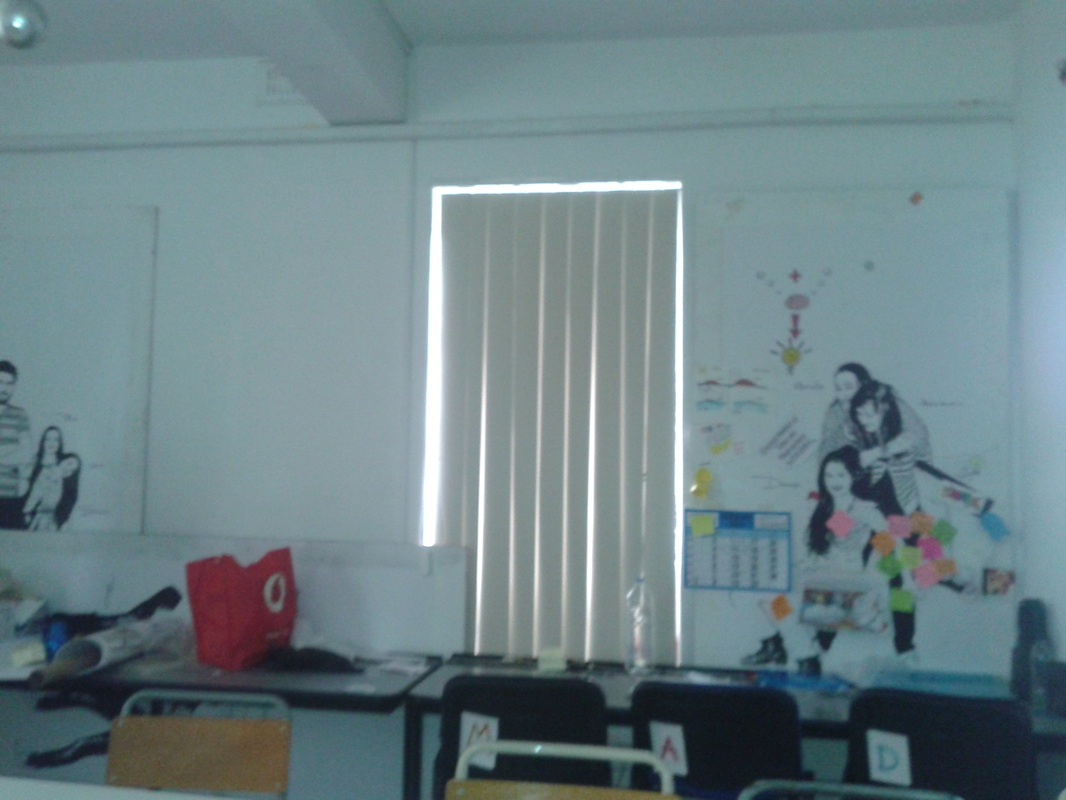
Studio 4
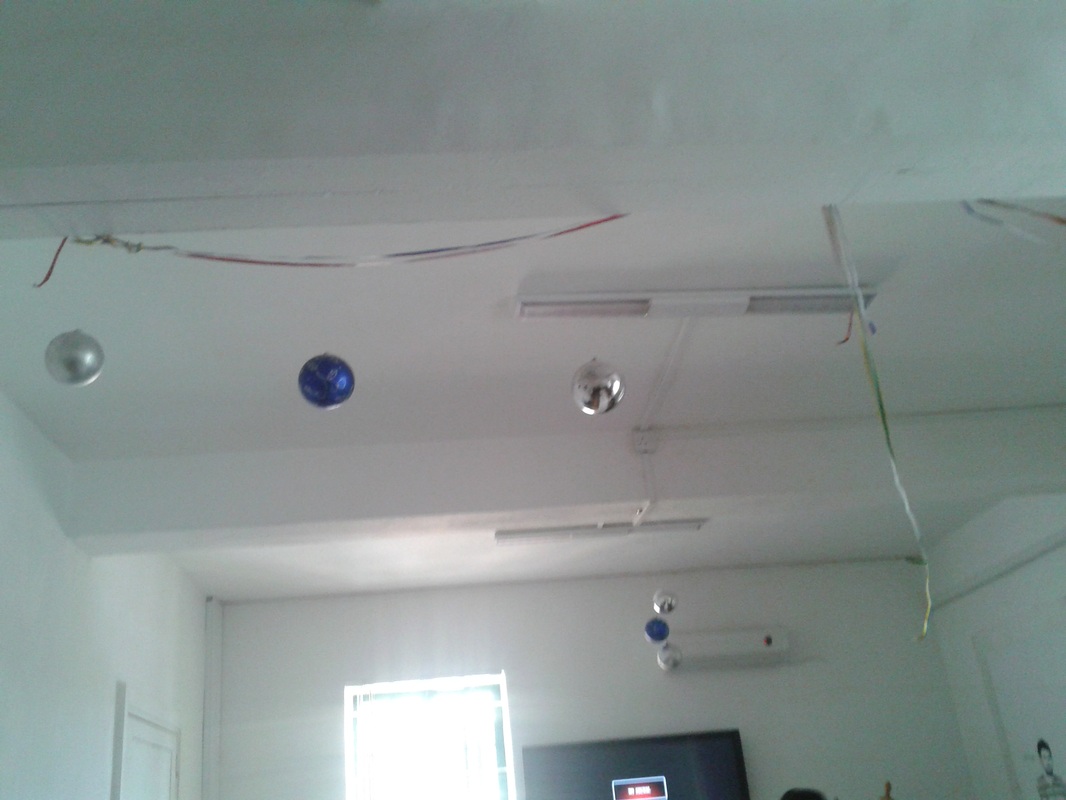
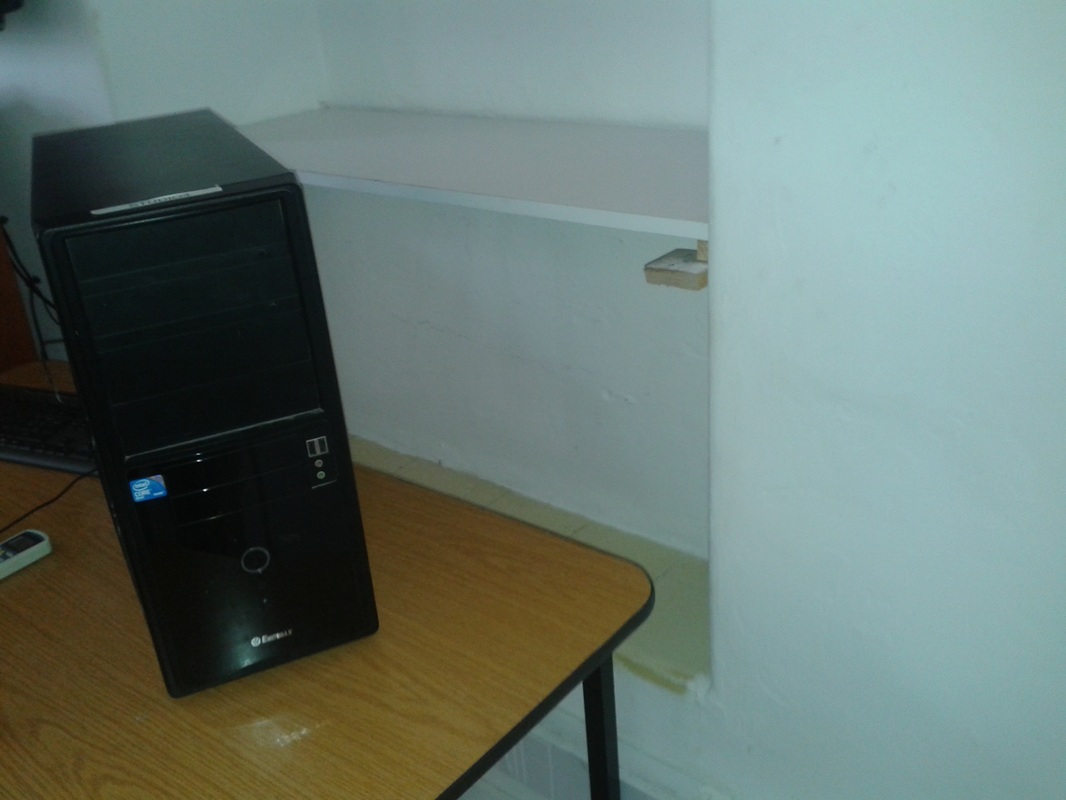
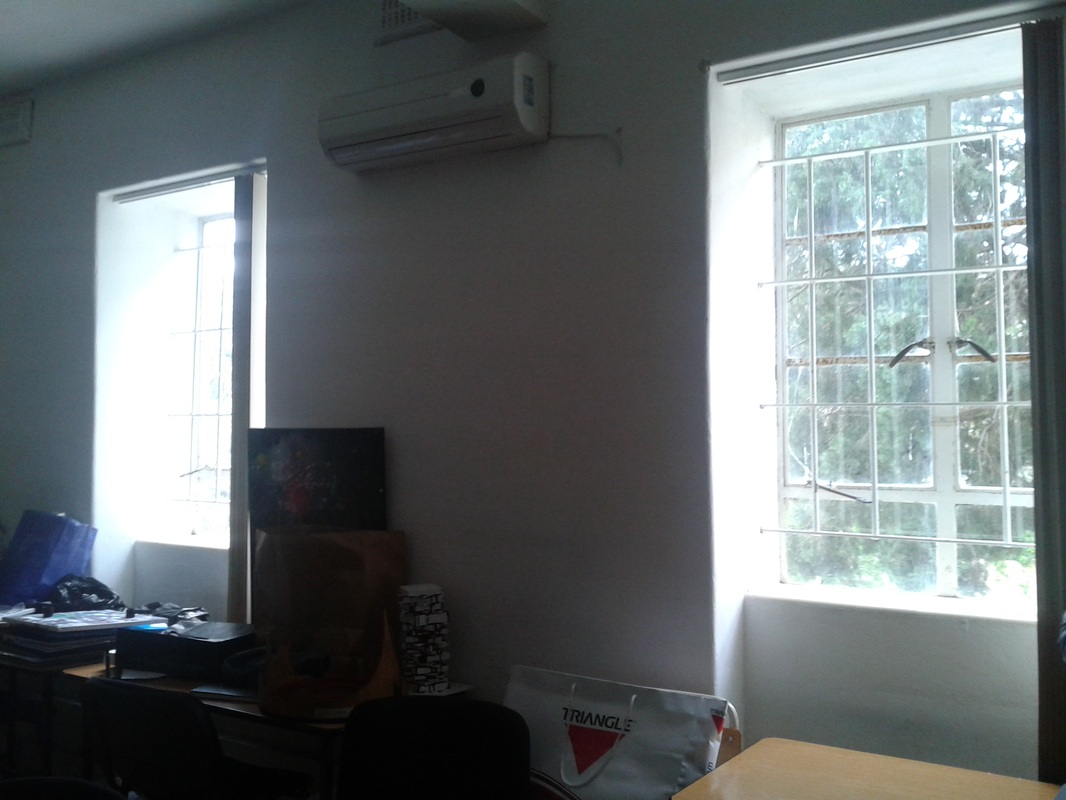
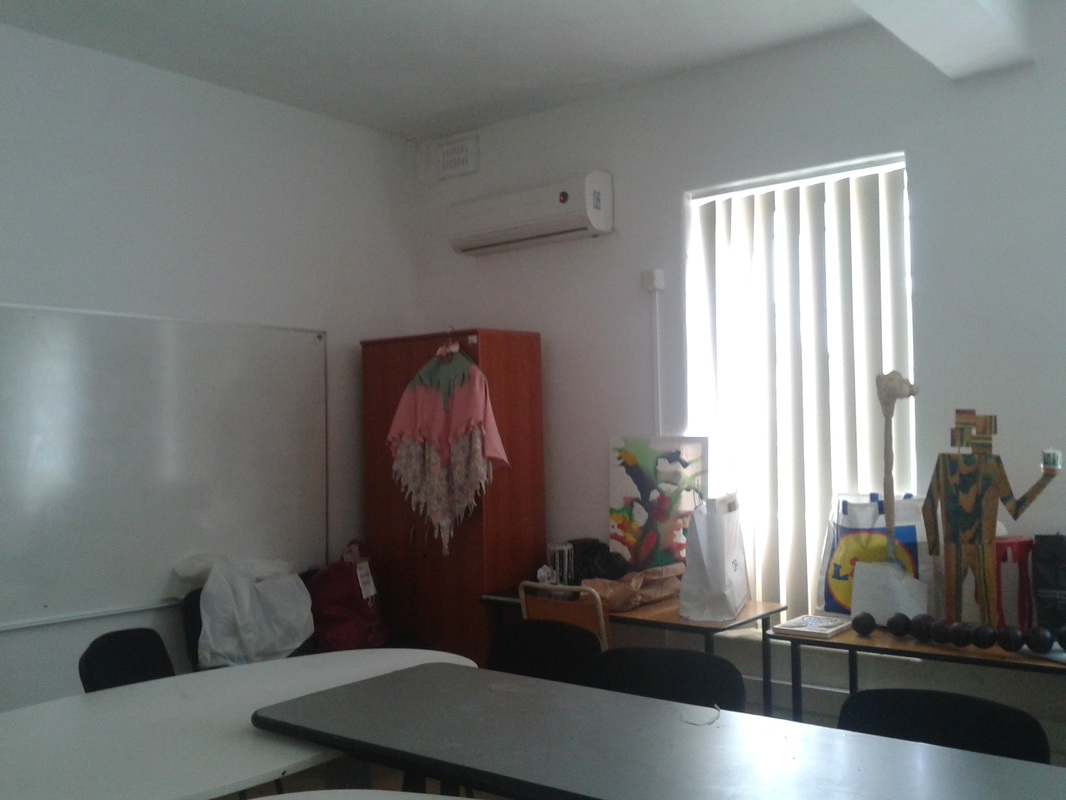
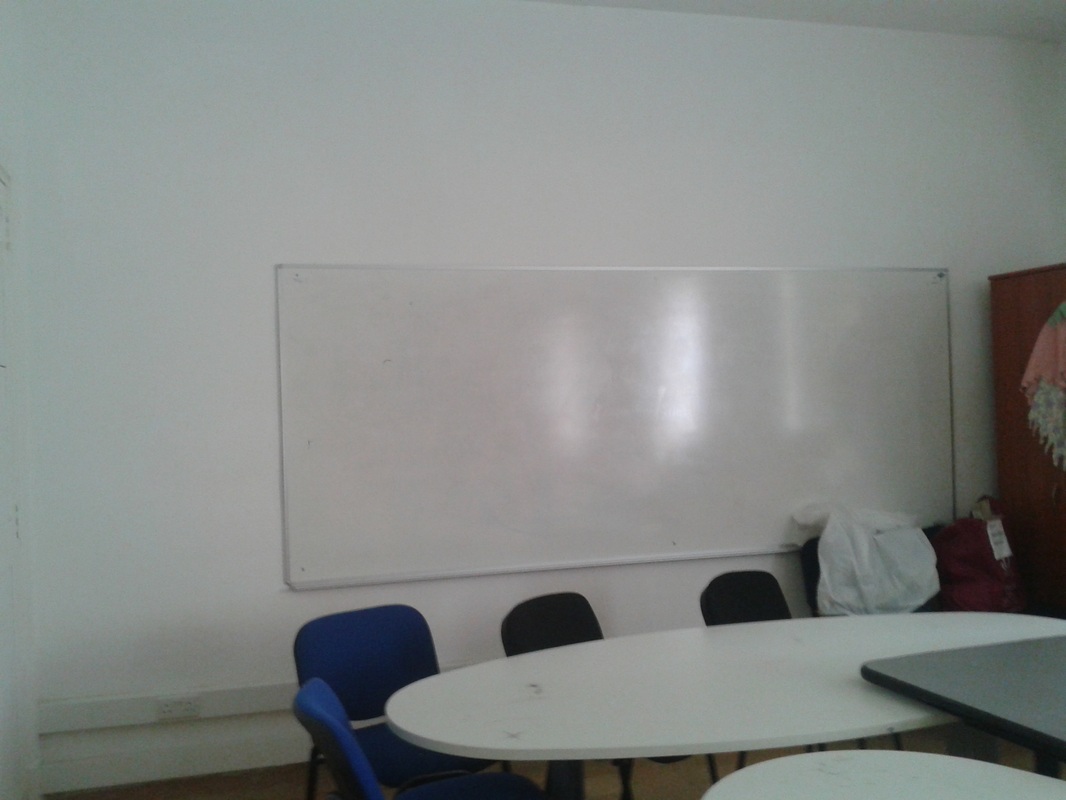
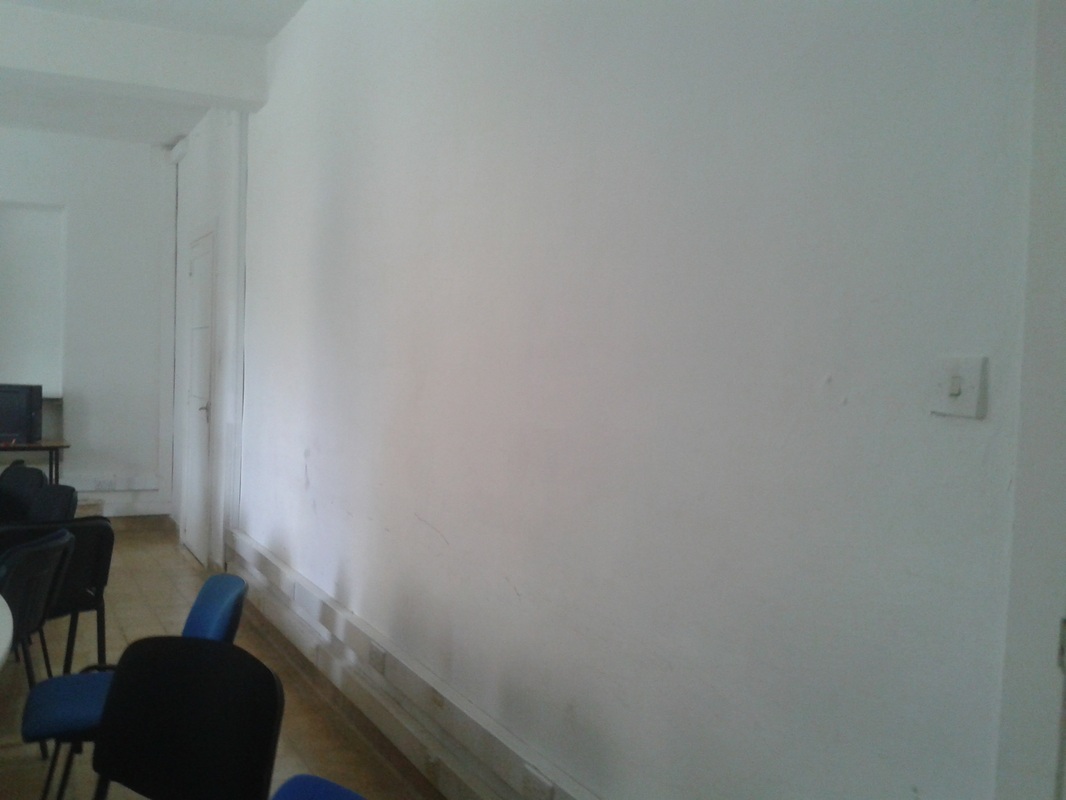
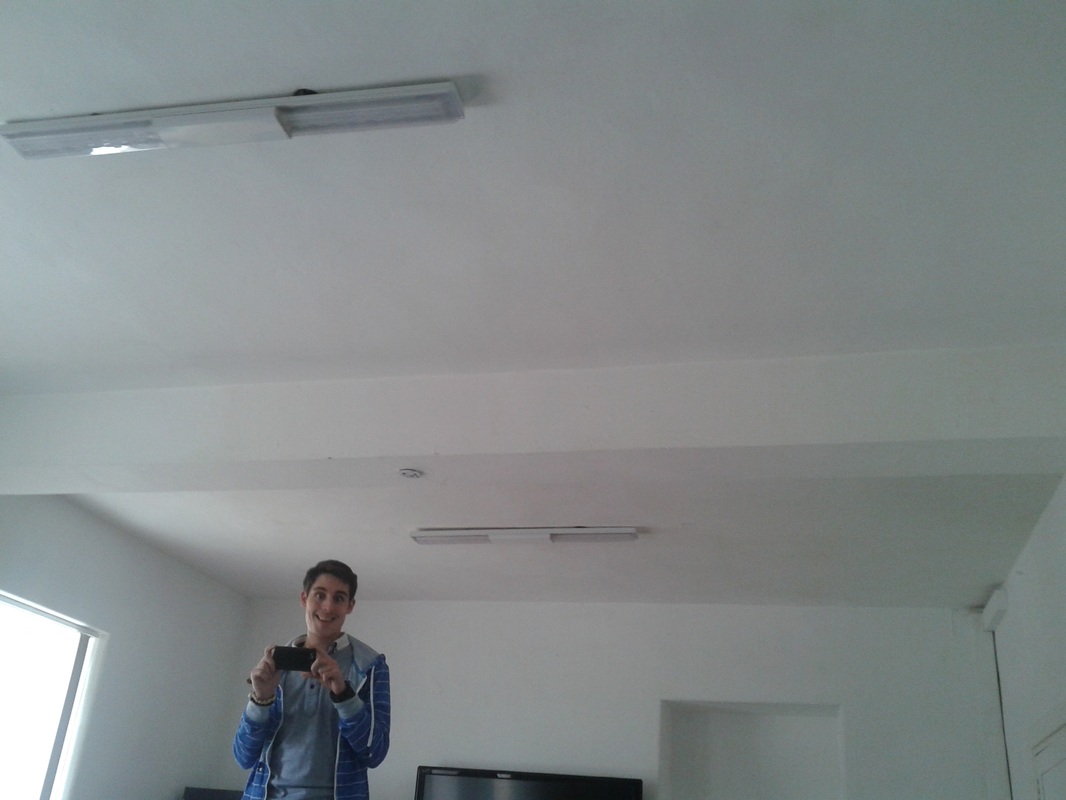
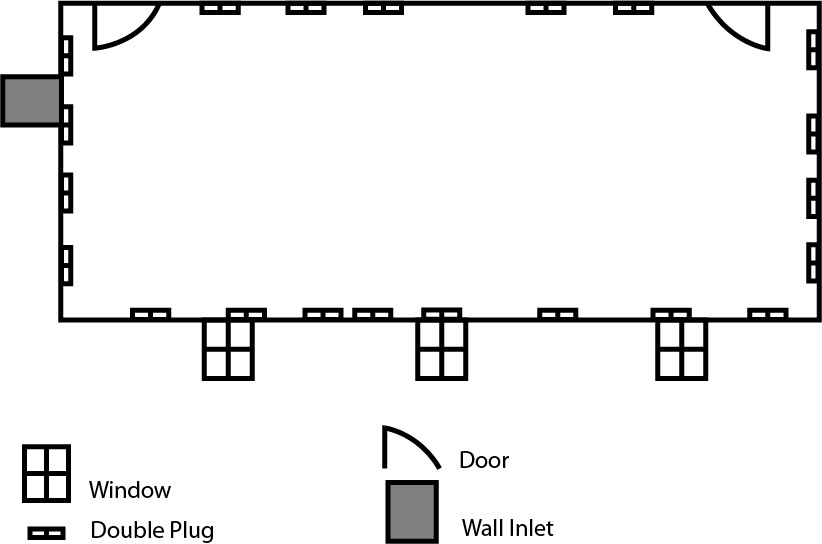
This room is extremely similar to the other, the one advantage for this room is that there is to wall jutting out. This room also has an inlet in the wall which we can use in our favour o exhibit certain projects. The windows might also need to be covered up to add exhibiting space, but if this is done we will need to add more light to the room as most of it's light source is natural light. As it is also a big room it is also to our advantage and it also has two doors so we can have excellent flow from one room to the other. In this room there is about 40 plugs around the room so again we have more than enough plugs to go around.
Alternative to projection mapping
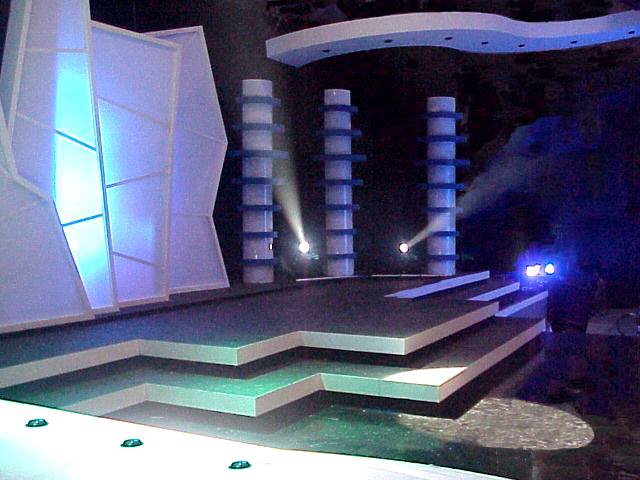
This is what I chose as an alternative to the projection mapping. It is still a projection but it is coordinated with a dance so there is still the high tech part, to show people that we are up to date with these kind of stuff, but it is also an original way of doing it since the projection has been done before. It gives us an edge that will not be expected, unlike the projection mapping which is now becoming expected to be seen in our exhibition. Also this is not something that is done in Malta, unlike a projection mapping which is now becoming more common. If done right this would be something people will talk about for quite a while, something that will not be forgotten so easily.
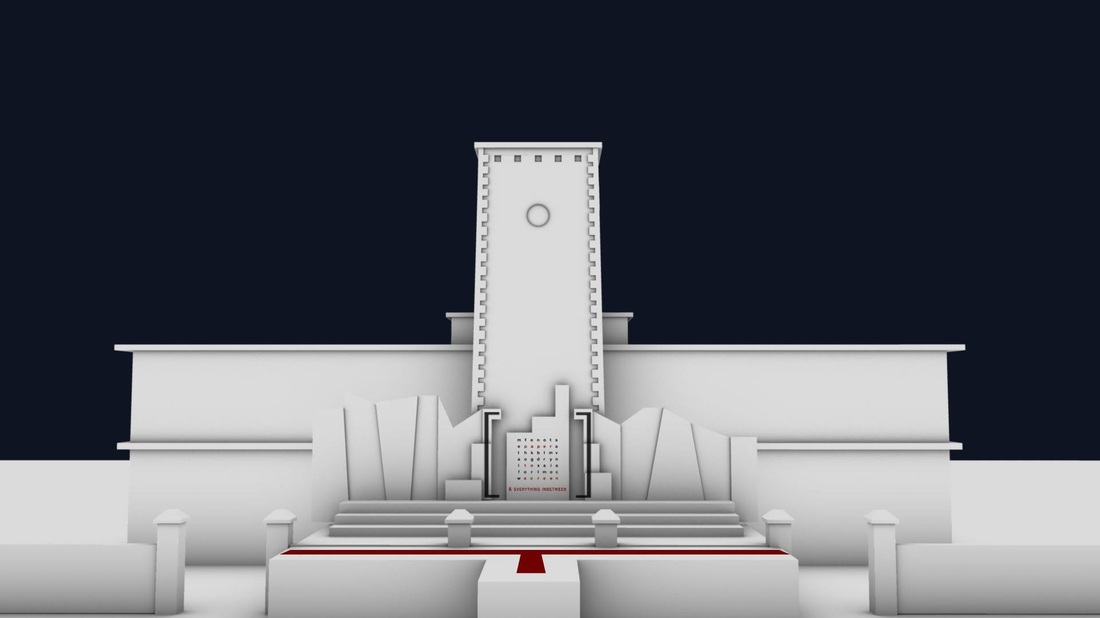
Example of a projection mapping
This is then the projection mapping idea I chose. If no alternative is chosen and we have to do a projection mapping, I think it should focus more on the illusions. It should look like things are coming out of the building and make it look like the building is changing it's shape and warping into other shapes. We can also include the fashion show in the projection so that more work can be presented (no limitation of time for people to change from one outfit to another). We can also include works of students which might go with the style of clothing that is shown on the sides or maybe sketches of the dress on he sides to show how it progressed to this stage. This way we will still have the projection mapping but still give it that slight edge, and the media students can help out with the filming of the fashion show and the 3D student can set up the stage so that they will be more involved in the exhibition progress as well.
Exhibition Concepts
Interesting Ideas
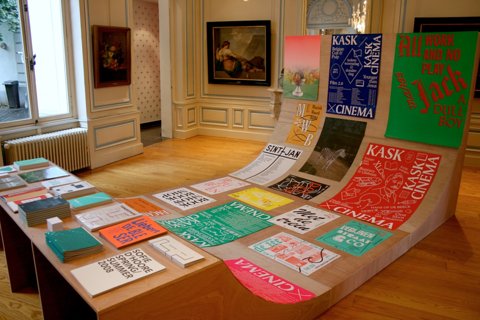
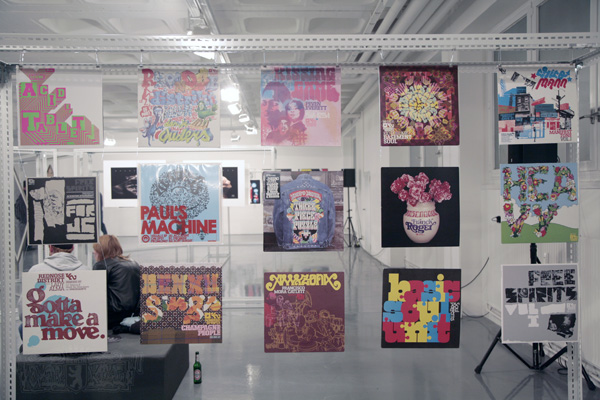
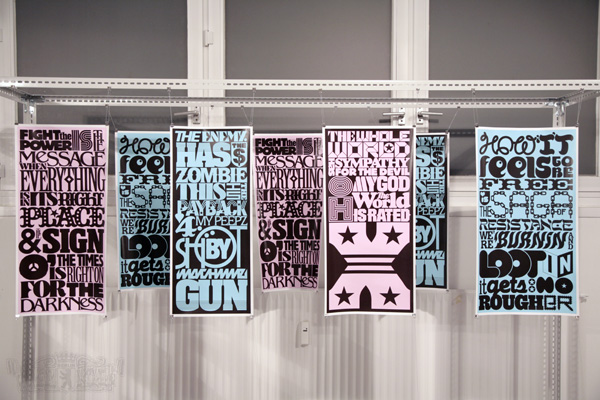
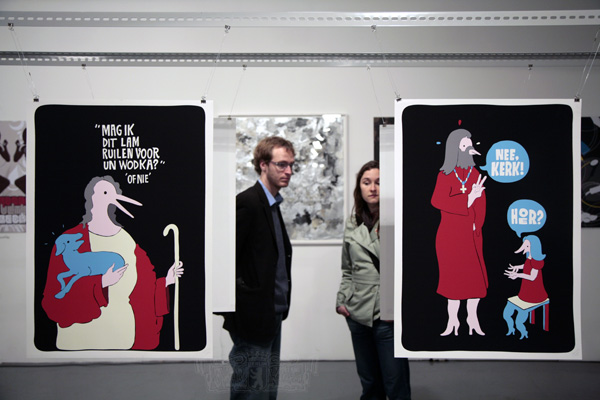

Spaces Ideas
Some Inspirational material for the spaces inside our exhibition rooms
Initial Designs for Rooms
Some designs I came up with for our exhibition rooms done in Google Sketch Up as 3D models so we can se how much space we have exactly.
Final Concept for Rooms
The final design the spaces group came up with all together. I did the 2D illustrations and took all the measurements so that Lara could do the 3D render of the stands and the whole room.
Brand Concept
When we chose the title Paper to Screen as a whole group we all thought that it would look good in a word search. So we immediately tried to put it in a word search and we decided that the other words should include the courses available at MCAST art and design. These are some of the word searches I tried to create while we were brainstorming.
Stage
|
|
These are 2 inspirational material I uploaded to our Facebook group for the stage design, although I was not in stage design I came across these photos and I thought they would fit with our style.
This is the stage design that was presented, done by Silvio and Andre. I thought that we could have a small model to show in the presentation so they can understand exactly what we are proposing so I created a model out of cardboard.
After our team won, I decided to go into the construction team as I really like doing these kind of stuff. Since the room spaces chosen by the students weren't liked by the tutors the new construction team had to come up with a new idea that stays in the budget that the school would give us (and in the budget we raised from our fundraising events). But first we needed to do the fundraisers!
Cupcakes, doughnuts and mocktails fundraiser!
For this fundraiser I helped set up, Stuck posters all round the school and grabbed a sample batch and went round the school with Silvio, Fleur and Desiree, to get people to go and buy from our stand.
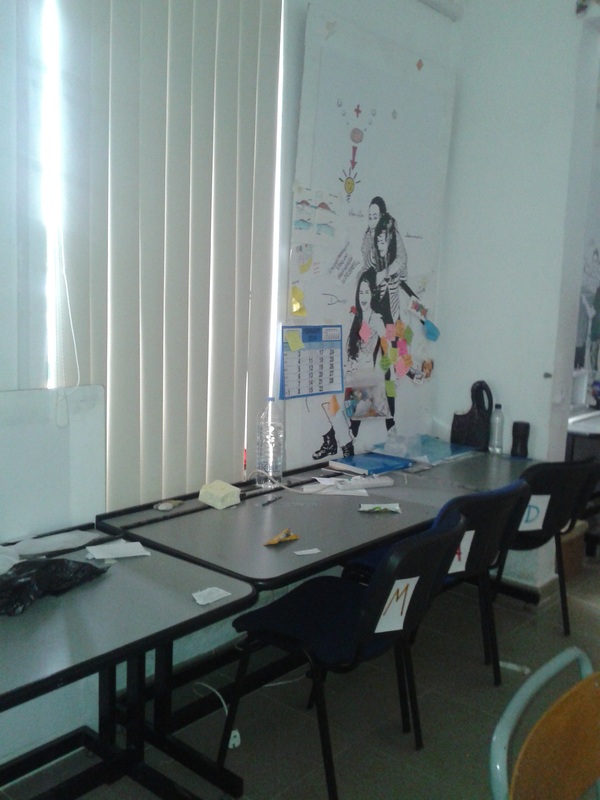
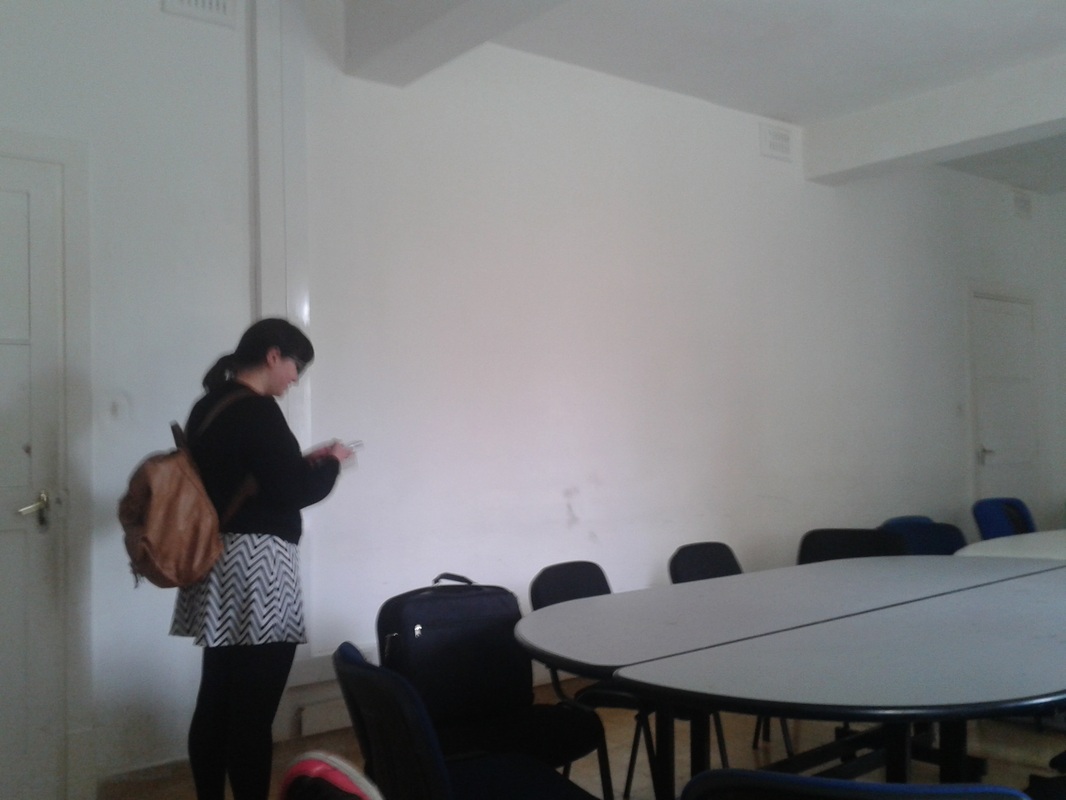
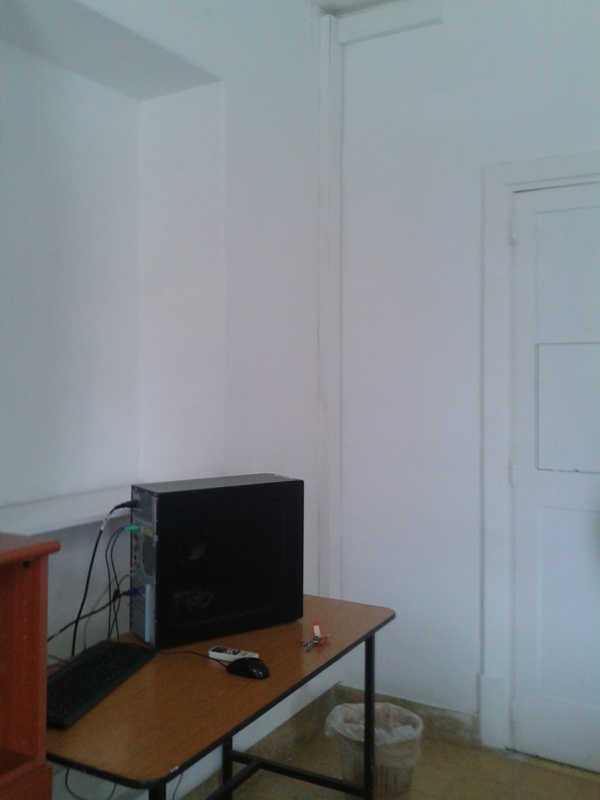
Getting a Clear look at the Room
Here we are getting a proper view of the room. We Started designing the layout to scale with each room. Then We interviewed every person in our class to see exactly what they have and what kind of stand they need. After that we started clearing out the rooms.
Planning and painting white!
Once we knew what everyone needed we could plan out the room properly with where the people would be placed. We did this using masking tape and writing where everyone would be. Then for the decorations we looked for inspiration and someone had posted a lantern made from wool, so I decided to try and make it at home. Then we started to stock the walls and paint them and the doors white.
Stripes and colours...
We decided to have a "feature wall" in each room. In this room the wall would have the screen showcasing the sound assignments of the whole class and the projection mapping of December. Since our logo colours were blue and a coral orange we went with our brand colours for his wall. We decided to have it striped, but the white stripes in between the colours would be half the size of the coloured stripes. So first we had to measure each one, then mark where the tape has to come from top to bottom, then stick the tape and then start painting. The outcome was amazing as everybody loved the wall.
Balloons, yarn and loads of glue!
When the walls were done we started doing the decorations. We bought balloons and blew them up in different sizes. We then mixed pva glue with corn starch and water, dipped the yarn in the mix and started wrapping it around the balloons. These had to be left overnight to dry. Our first few tries didn't work out as we only used pva glue in the beginning and we did not leave them overnight to dry, but finally we managed. The lanterns came quite pretty. We had to stay cleaning the wholes from the glue which took us quite a bit of time. While they were drying though we went to get the materials that arrived from Frans' house (they were there to be cut since the workshop had already closed). We carried a bunch of wood back to our classroom and started separating construction's material from wayfinding's
Wooden Frame Ready!!
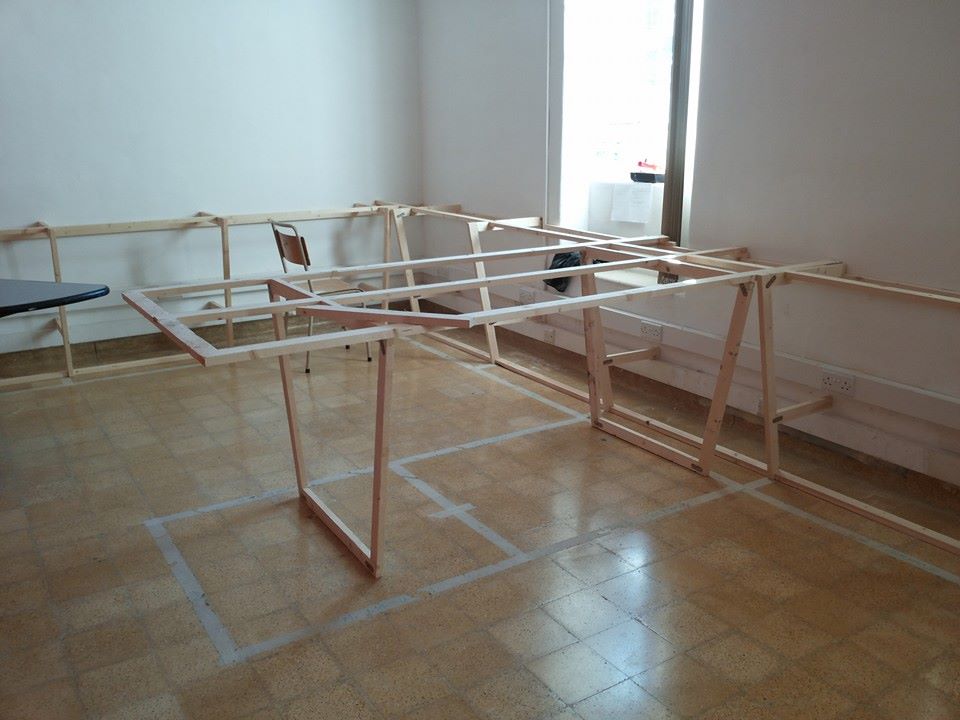
Staples, nails and some more yarn!
After the boys put together the frames the deco girls started measuring and marking where the nails/staples have to come. We decided to leave just an inch between one nail and the other so we needed A LOT of nails! I helped with the nailing/stapling of the frames. I then helped with the weaving of the frames (which actually was more time consuming than you'd think!). Then we had to do the corners (as we completely forgot about them!). I went under the structure and started hammering all the corners. I showed some people one example of how the weaving should come so they can start weaving whilst I'm hammering.
Material and Deco..
We decided to cover the ceiling in material, so first we went on a hunt for the cheapest material we could find. Then we stayed measuring each one according to the sizes e needed. We cut the material to create loops out of it so that a rope can be passed trough. We spent a whole day measuring cutting and sewing at Rebecca Borg Cardona's house. It was my first time sewing so it went a bit slow, thank god her grandma showed up and started helping us or else we wouldn't have finished. We finished all this at around 2am. We showed some others how to pass the rope through and how we wanted it to overlap, so we could go back and do the finishing touches. I had stocked most of the structures and the others continued where I left off. We painted the structures and started cleaning. When the room was clean the boys got the computers down and started setting up everything. Finally we hung the material onto the ceiling. It gave us a bit of trouble at first but thanks to my boyfriend, Joshua Azzopardi, and the teacher of 3D design and interiors, we managed to get it looking good. Finally we had to hand up the yarn lanterns, but some people where not liking how they were coming as they could not understand how to hand them and they started to hand them from the rope, which only gives 3 places where to hang from. At that moment I did not have time to do them myself (even though I explained multiple times) as I was doing the shelf for my area because it was overlooked. Unfortunately we ended up not doing the decorations, even though the next morning most people voted to have them, no one really bothered to hang them up, and I did not have enough time as I had to fix my own project that I was going to exhibit.
Opening Night
The space came looking very nice and I am quite proud of the exhibition we put up. The opening night was a huge success and I am very happy with all that we did :)
Thanks!
I would like to thank all the students that worked on the exhibition especially the projection and construction people who spent endless nights working at school most of which slept there as well (even though I didn't I used to end up leaving at around 3 am and going back in at 9.30 am.. The students, who although finished their part, still came in even in the weekends to help others. I would also like to thank the tutors who helped us make this exhibition a reality. I want to really thank my boyfriend, Joshua Azzopardi who came to help almost every day and stayed till late like the rest of us!! My parents for supporting me and understanding that I had to spend late nights at school which meant I barely saw them for over 2 weeks. And I know this might sound silly but I want to thank my cat, who unfortunately passed away the Saturday before the exhibition for always waiting up on me and comforting me in stressful situations.
|

|